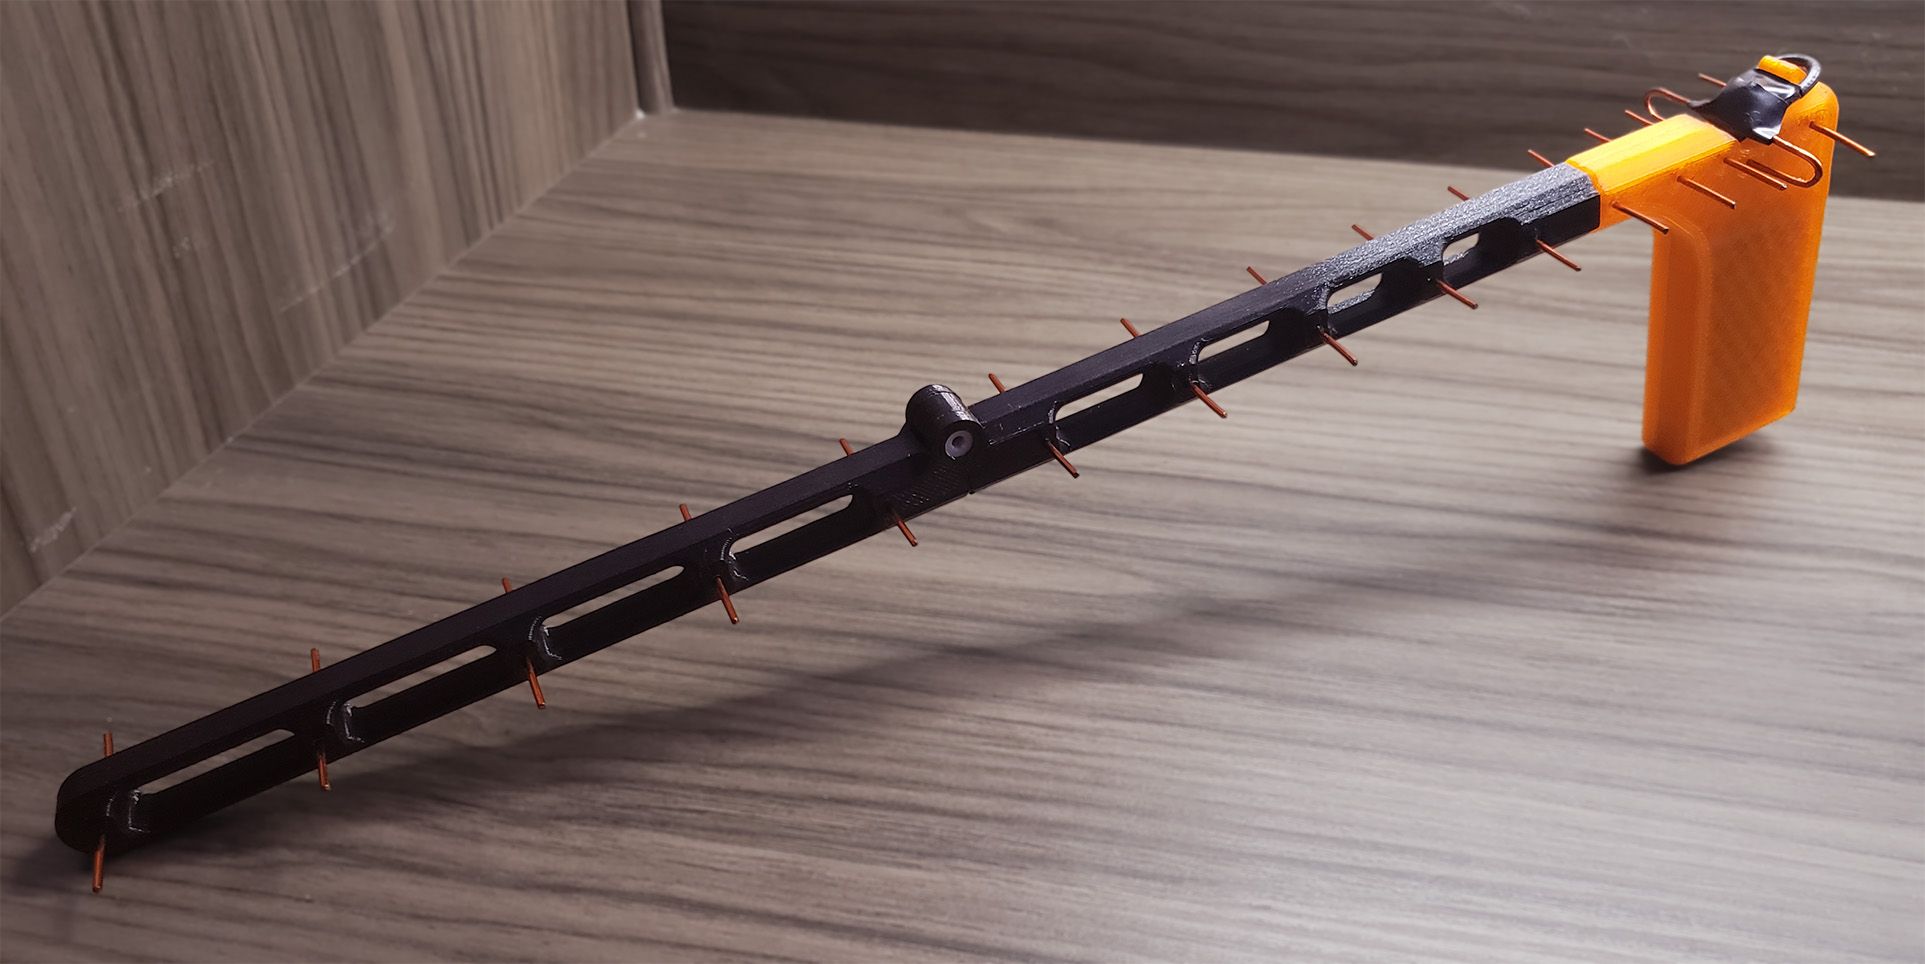
About two weeks ago, I started tinkering with the idea of making a portable WiFi Yagi antenna. However, the look and portability of most DIY antennas didn't quite meet my expectations.
I had a few clear goals in mind:
- Easy to store.
- Easy to assemble.
- Mostly 3D printed.
- Built-in 2.4Ghz wireless adapter (Alfa AWUS036NH).
- Based on a proven Yagi design.
After some research, I decided to base my design on AB9IL's A High Gain Yagi Wifi Antenna. This led me to the W9CF java applet, which allowed me to use the K1FO Yagi design. This approach made the antenna substantially smaller and more portable compared to the results from the VK5DJ Yagi Calculator, which is based on the DL6WU formula (first published as Extremely Long Yagi Antennas, VHF Communications, 3/82 - not the best choice for portability...).
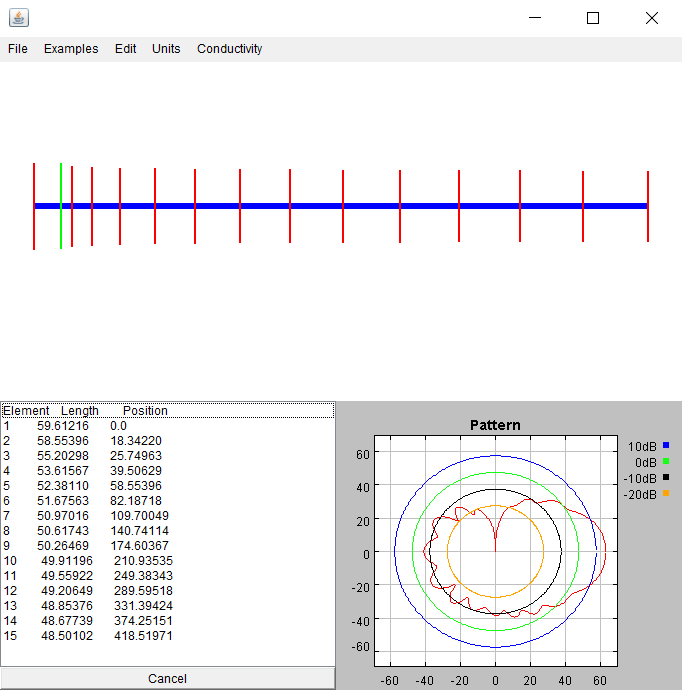
This gave me the first constraints needed to start designing the antenna, the next step was to prepare the wireless adapter so I could measure and fit it inside the handle. For this, I used an Alfa AWUS036NH, it's a great 2.4Ghz wireless adapter for pentesting due to its better than average range and support to monitor mode, the only adjustment needed was to remove the RP-SMA connector as it was the tallest component of the board.


Designing the 3D printed parts didn't take long, after all, it's essentially a stick with a grip. The main benefit of building the Yagi this way is that we can be sure that every element is spaced precisely, without the need to manually measure the boom and drill each hole.

First sketch
I used a spare PCB standoff as a hinge pin, though a 3D-printed cylinder would work just as well (I'll include it in the files). Refining the design to fit within my 3D printer's build volume took a few iterations, focusing on weight reduction and ergonomics.

Final design
Cutting the boom's weight was the main improvement over the first sketch, followed by an ergonomic refinement to the handle. Not much time later and all the 3D printed parts were printed, with only a minimal amount of support structures.
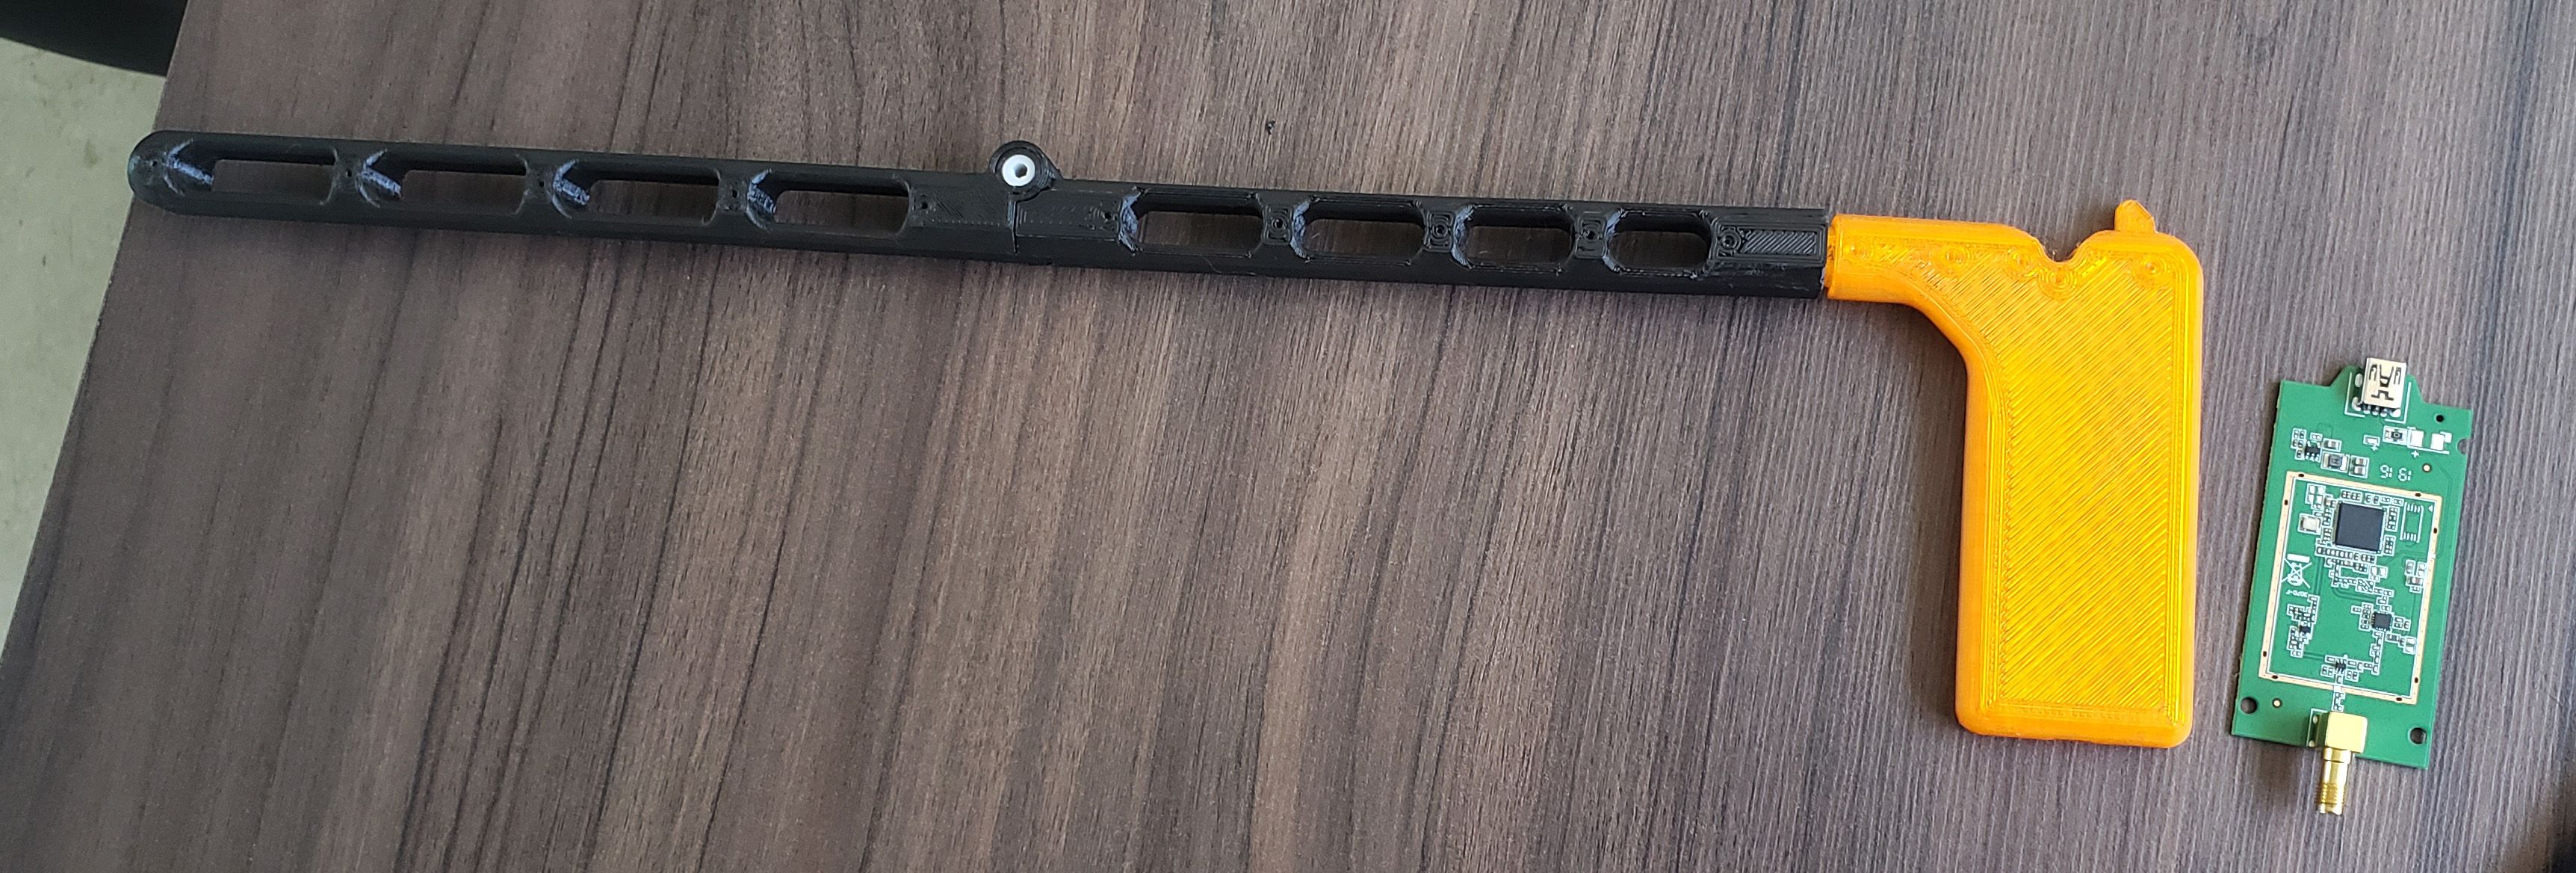
All 3D printed parts assembled
Cutting the 14 AWG solid copper wire to the exact lengths specified by the Yagi calculator was tricky, but I tried to keep the tolerance at about ±0.1mm to the best of my abilities. Next, I still had the balun to build:
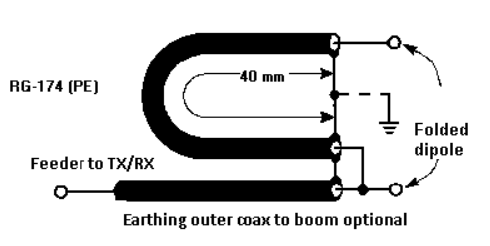
4:1 Balun Construction - VK5DJ
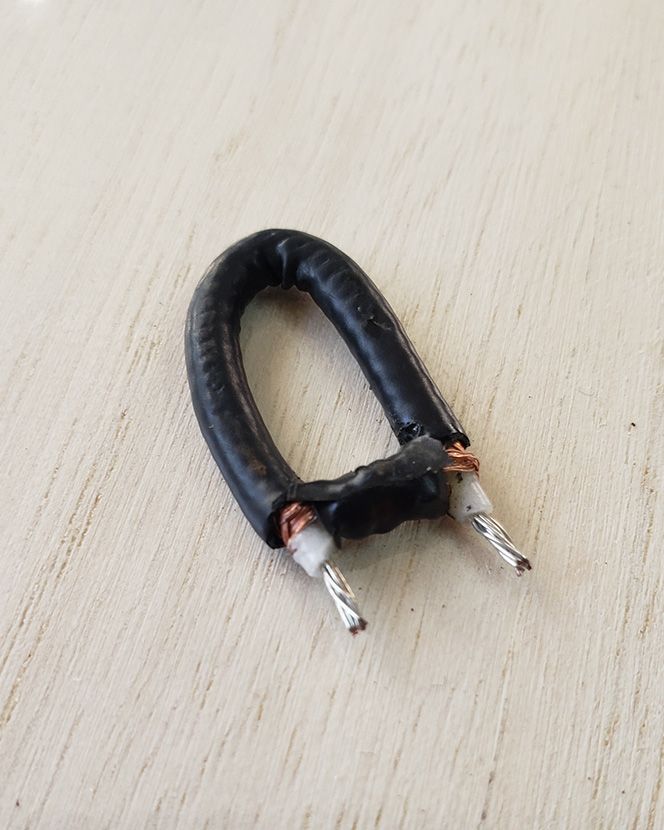
Finished Balun
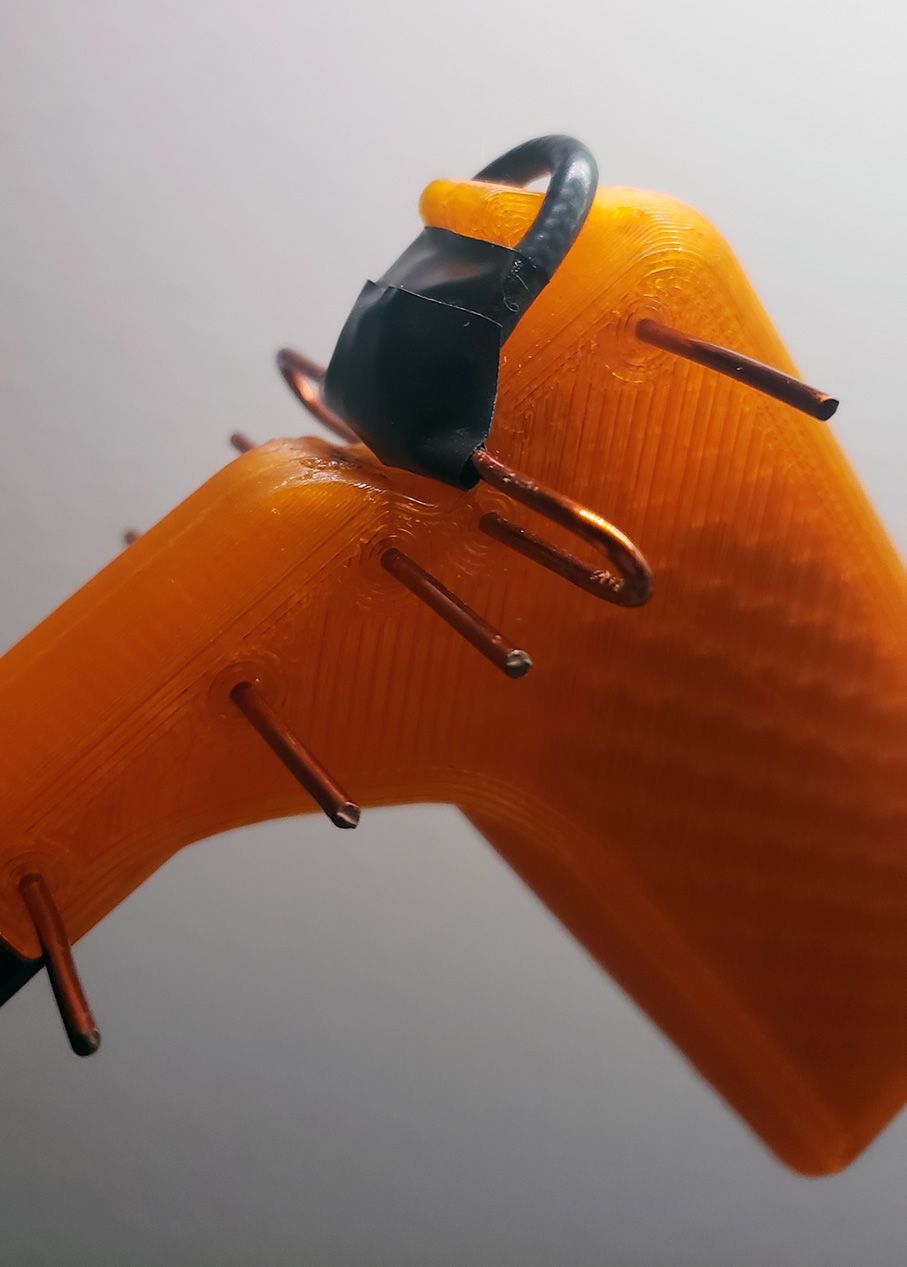
Electrical tape to the rescue!
After assembling the antenna elements, I realized I had completely overlooked the balun during the design phase. Thankfully, the iron plastic sights I'd added to the upper handle were the perfect size for it, requiring only minor improvisation.
With the assembly complete, I tested the antenna. While I didn't record baseline measurements with the default omnidirectional antenna (oops...), I can confidently say this Yagi far outperforms cheap eBay models. It maintained a solid 20Mb/s connection to wireless access points that were previously undetectable.
Below are test results from positioning the antenna about 40 meters away from a router (and behind a glass window):
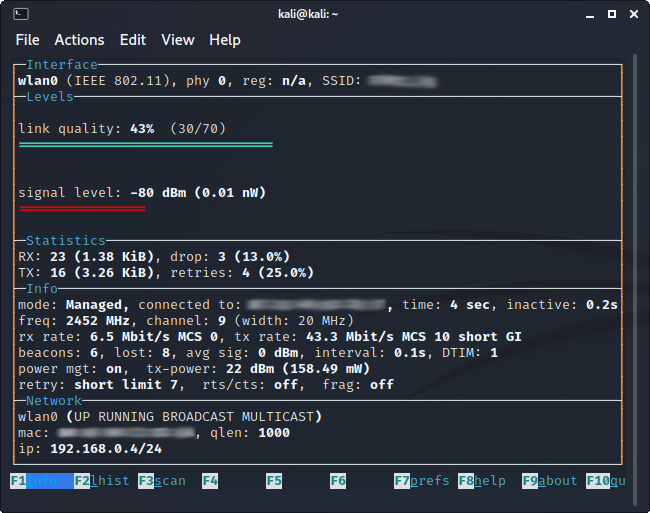
Onboard Intel Wireless-AC 9560
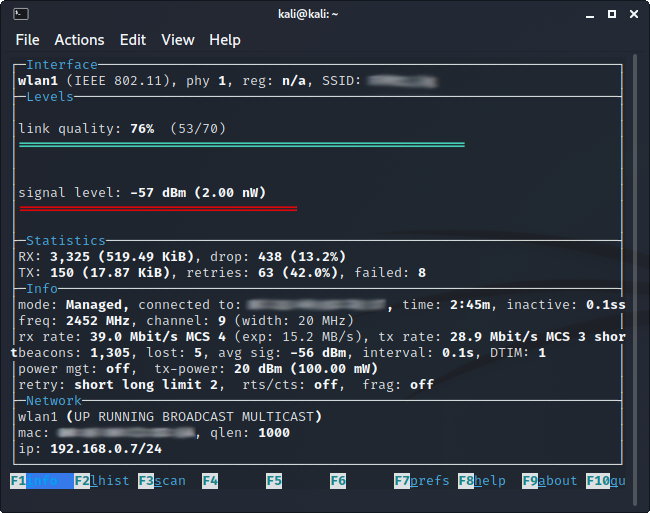
Aimed 10 meters away from target
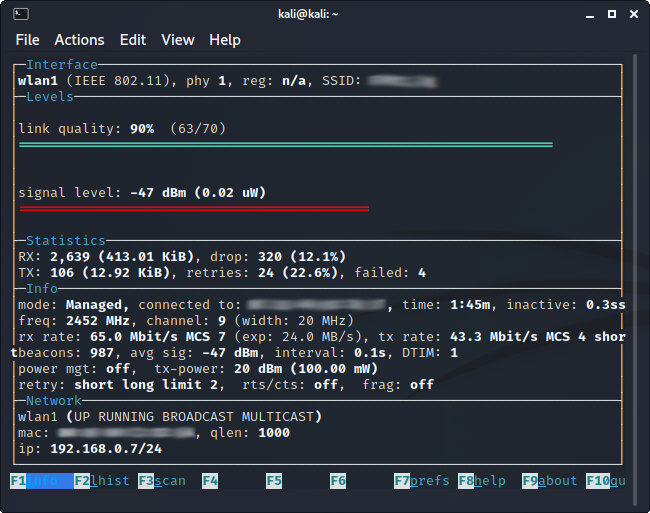
Aimed directly at target
The best scenario using my laptop's onboard WiFi can be seen in the first picture, afterwards, I started by aiming 10 meters away from the router and moving it until I got the strongest signal, which ended up being precisely where the router was located.
There are only a few adjustments I would make in a 2.0 version of this antenna, that would be a 1/4" nut to be able to mount to a tripod, and repositioning the balun to a less vulnerable location inside the handle. Also, it should be straightforward to make an 802.11ac version of this Yagi, which could make good use of the remaining solid copper wire.
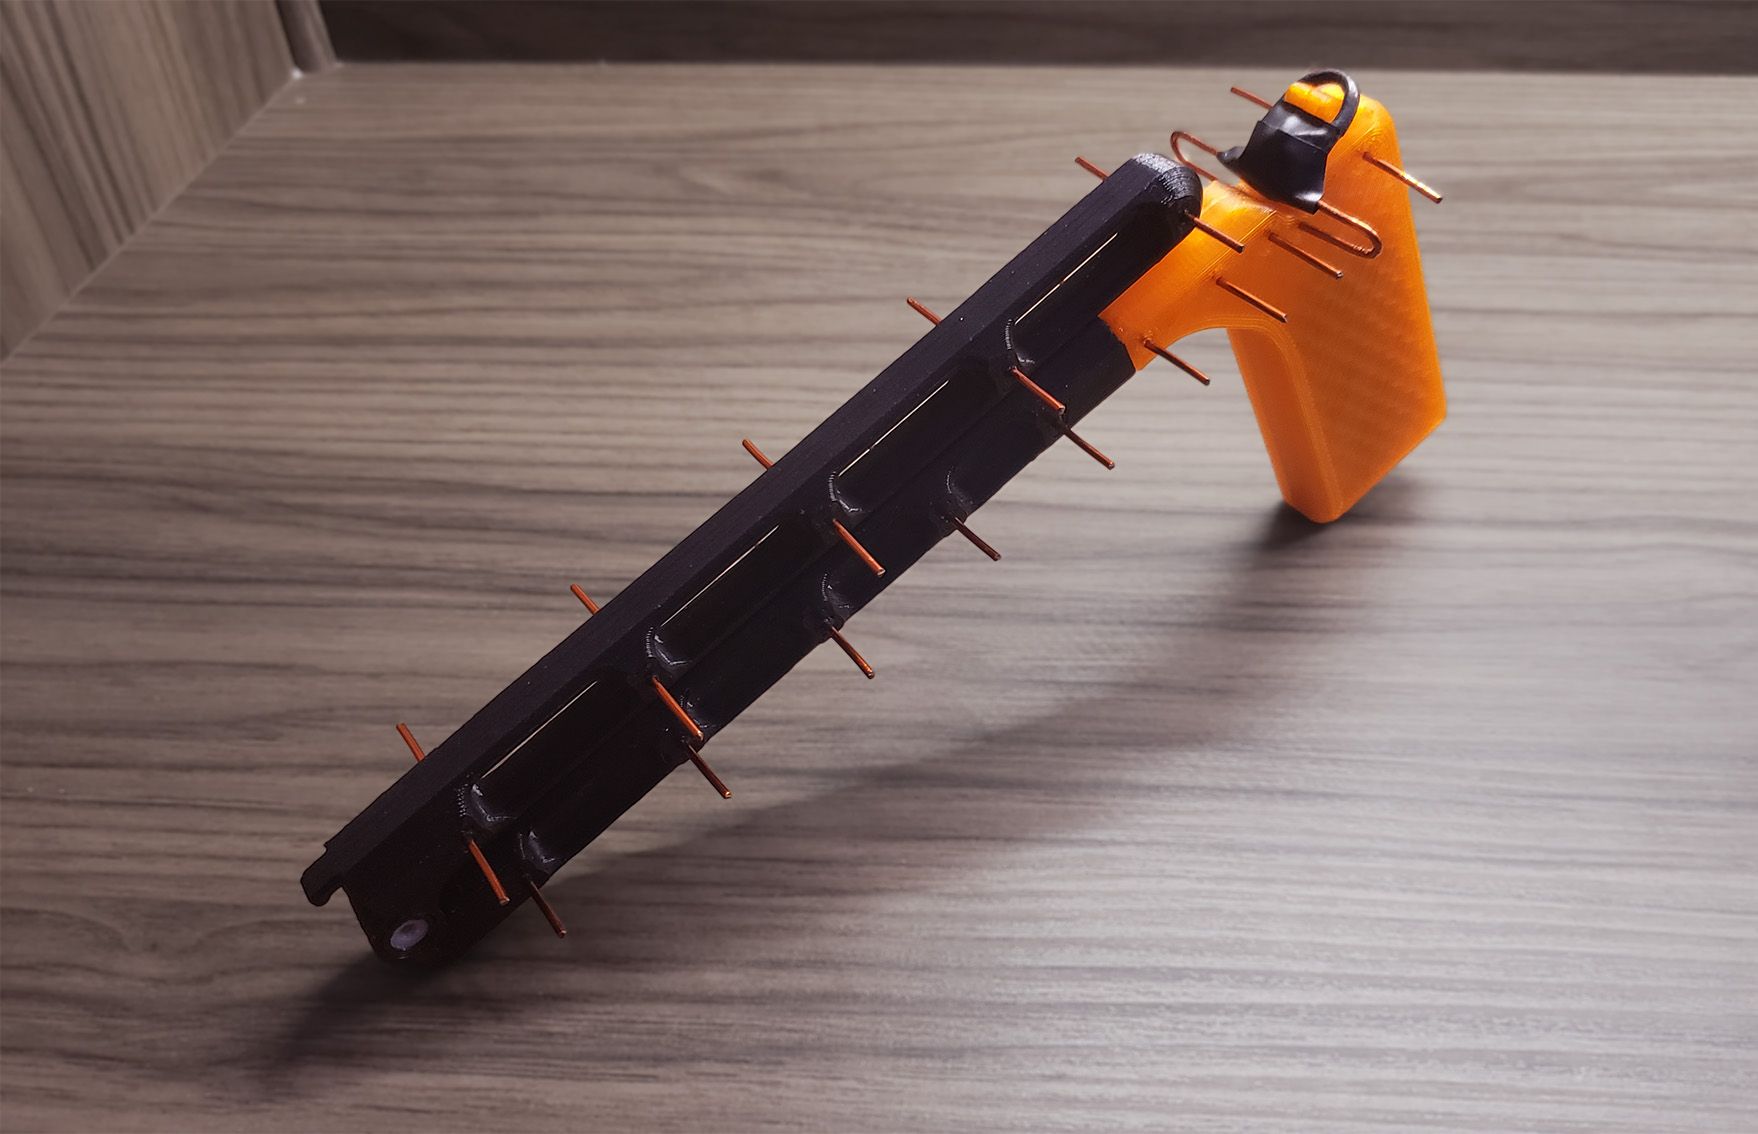
Yagi antenna in its portable mode.
You can download the files to build your own antenna by clicking here, then follow AB9IL's tutorial for the 15 Element Yagi Antenna and it should be similar, except that he didn't use a balun, but the construction diagram for one can be found above.