For the past few years, I've been collecting scraps of RGB and RGBW LED strips from past projects. Since I've been spending so much time in my home office, it was only a matter of time before I put the two together.
This time, I'll be giving an overview of how to achieve a similar setup. If you'd like to follow along, here's the parts list:
- A place to host the Blynk server (I'm using a Proxmox container, but a Raspberry Pi works too).
- WS2812B LED strip (for mood lighting).
- SK6812 LED strip (optional, adds a pure white LED better suited for desk lighting).
- Two 1kΩ resistors (any value up to 10kΩ works).
- Two 330Ω resistors (any value between 220Ω and 470Ω works).
- One 1000uF electrolytic capacitor (rated at 10V or higher).
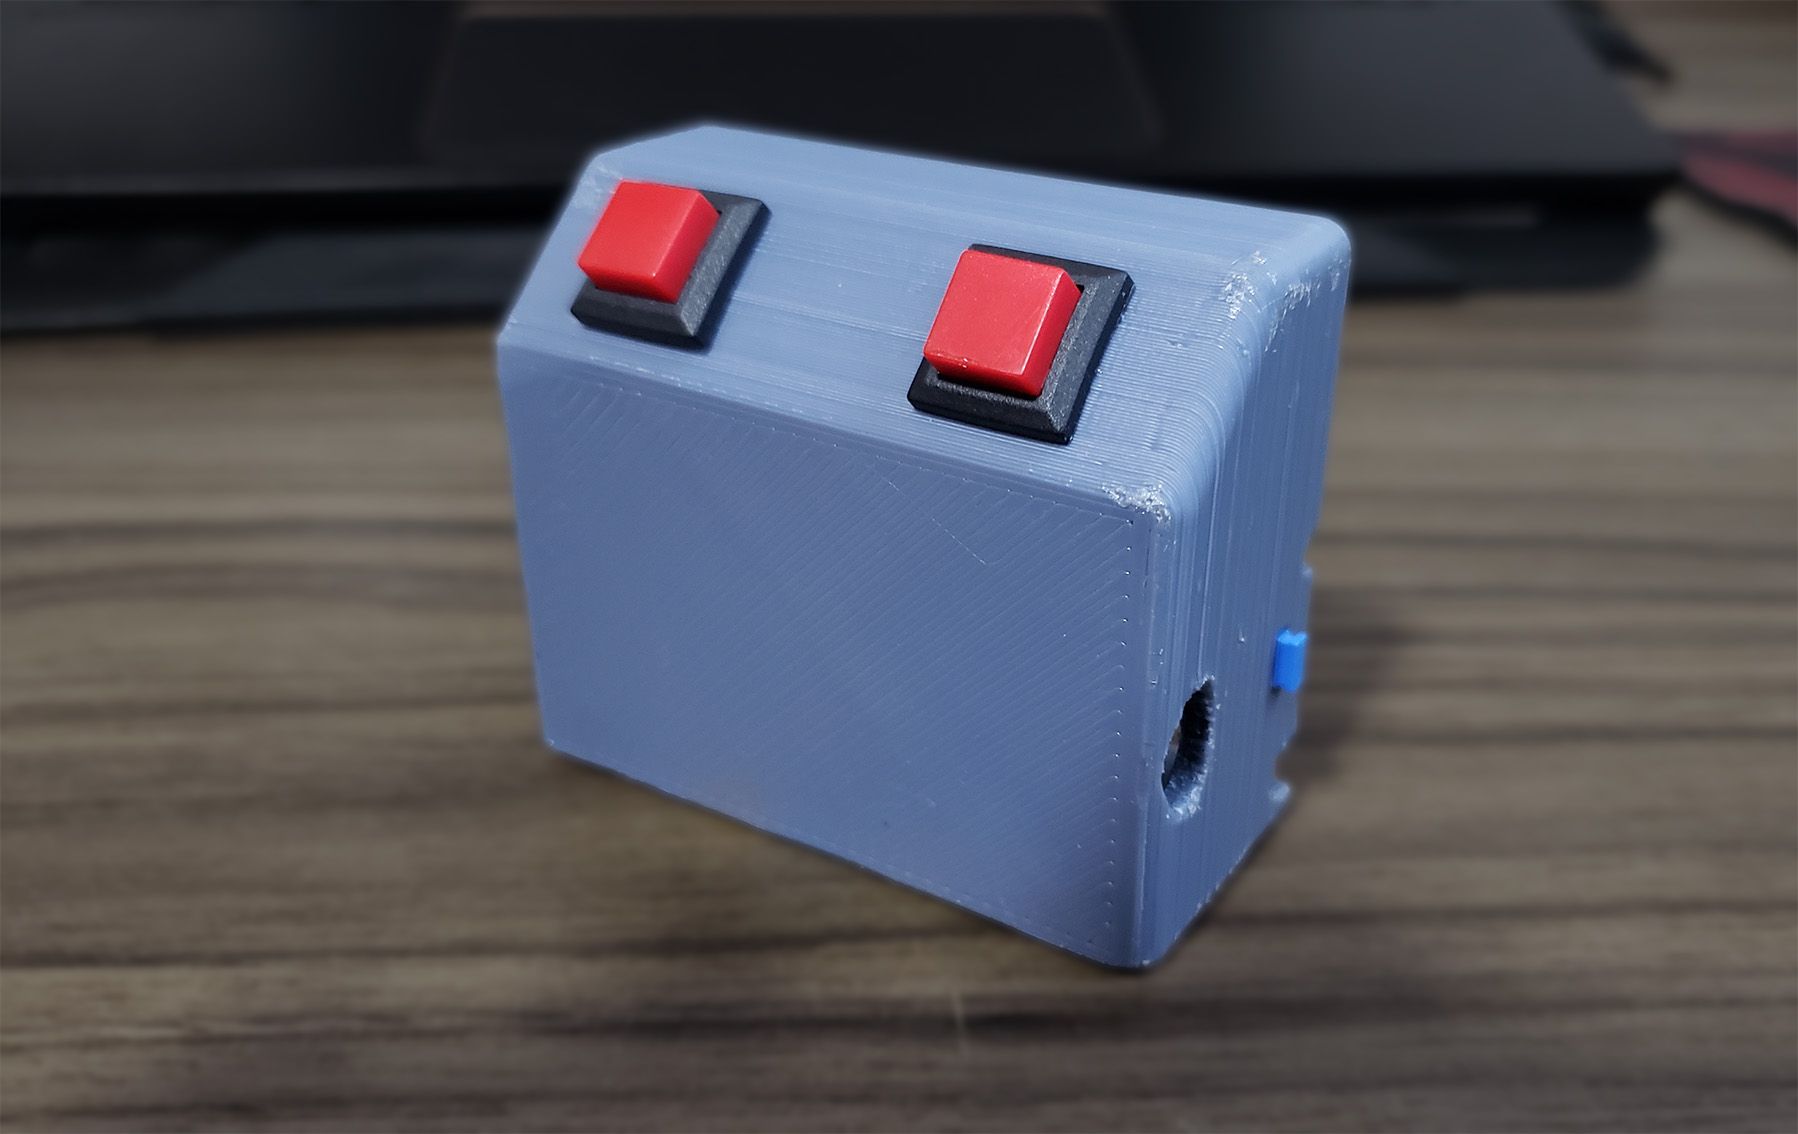
- Two DS-430 push buttons (essential if using the 3D-printed case).
- A logic level converter, like this one from SparkFun.
- NodeMCU v3 Lolin.
- 3D-printed case (download here).
- Wiring, leftover pins, and jumpers.
- Optional: an extra 470uF capacitor (rated at 10V or higher).
- 5V PSU (calculate required wattage in the next section).
Power requirements
The power needs of this project depend heavily on your setup. You can calculate the required power by multiplying the number of LEDs by their current draw:
- WS2812B: 60mA per LED.
- SK6812: 80mA per LED.
In my case:
- 150 WS2812B LEDs:
150 × 60mA = 9,000mA (9A) - 44 SK6812 LEDs:
44 × 80mA = 3,520mA (3.52A)
Total: 12,520mA (~12.5A).
It might sound ridiculous that tiny LEDs can draw this much current, but remember this is at 100% power for all diodes, something you rarely need. In practice, you'll likely use an average of 50% total brightness. Still, since many cheap PSUs don't deliver their advertised current, aim for a PSU that meets or exceeds your calculated requirement.
I'm using a 5V 20A PSU because it was lying around.
Assembly
Where and how you plan to install your LED strips will influence the assembly process, but here are some universal tips:
- Power the strips every 1.5 meters.
- Place resistors close to the strip's data line and keep the electrolytic capacitor nearby.
- Pay attention to the capacitor's polarity markings, it must be installed correctly.
- Add a jumper near the NodeMCU's VIN pin to prevent PSU power from feeding back through the USB port during programming.
- Connect the GNDs of consecutive strips when wiring Data Out to Data In.
- Follow Adafruit Best Practices.
- Be patient and careful to avoid damaging components you can't easily replace.
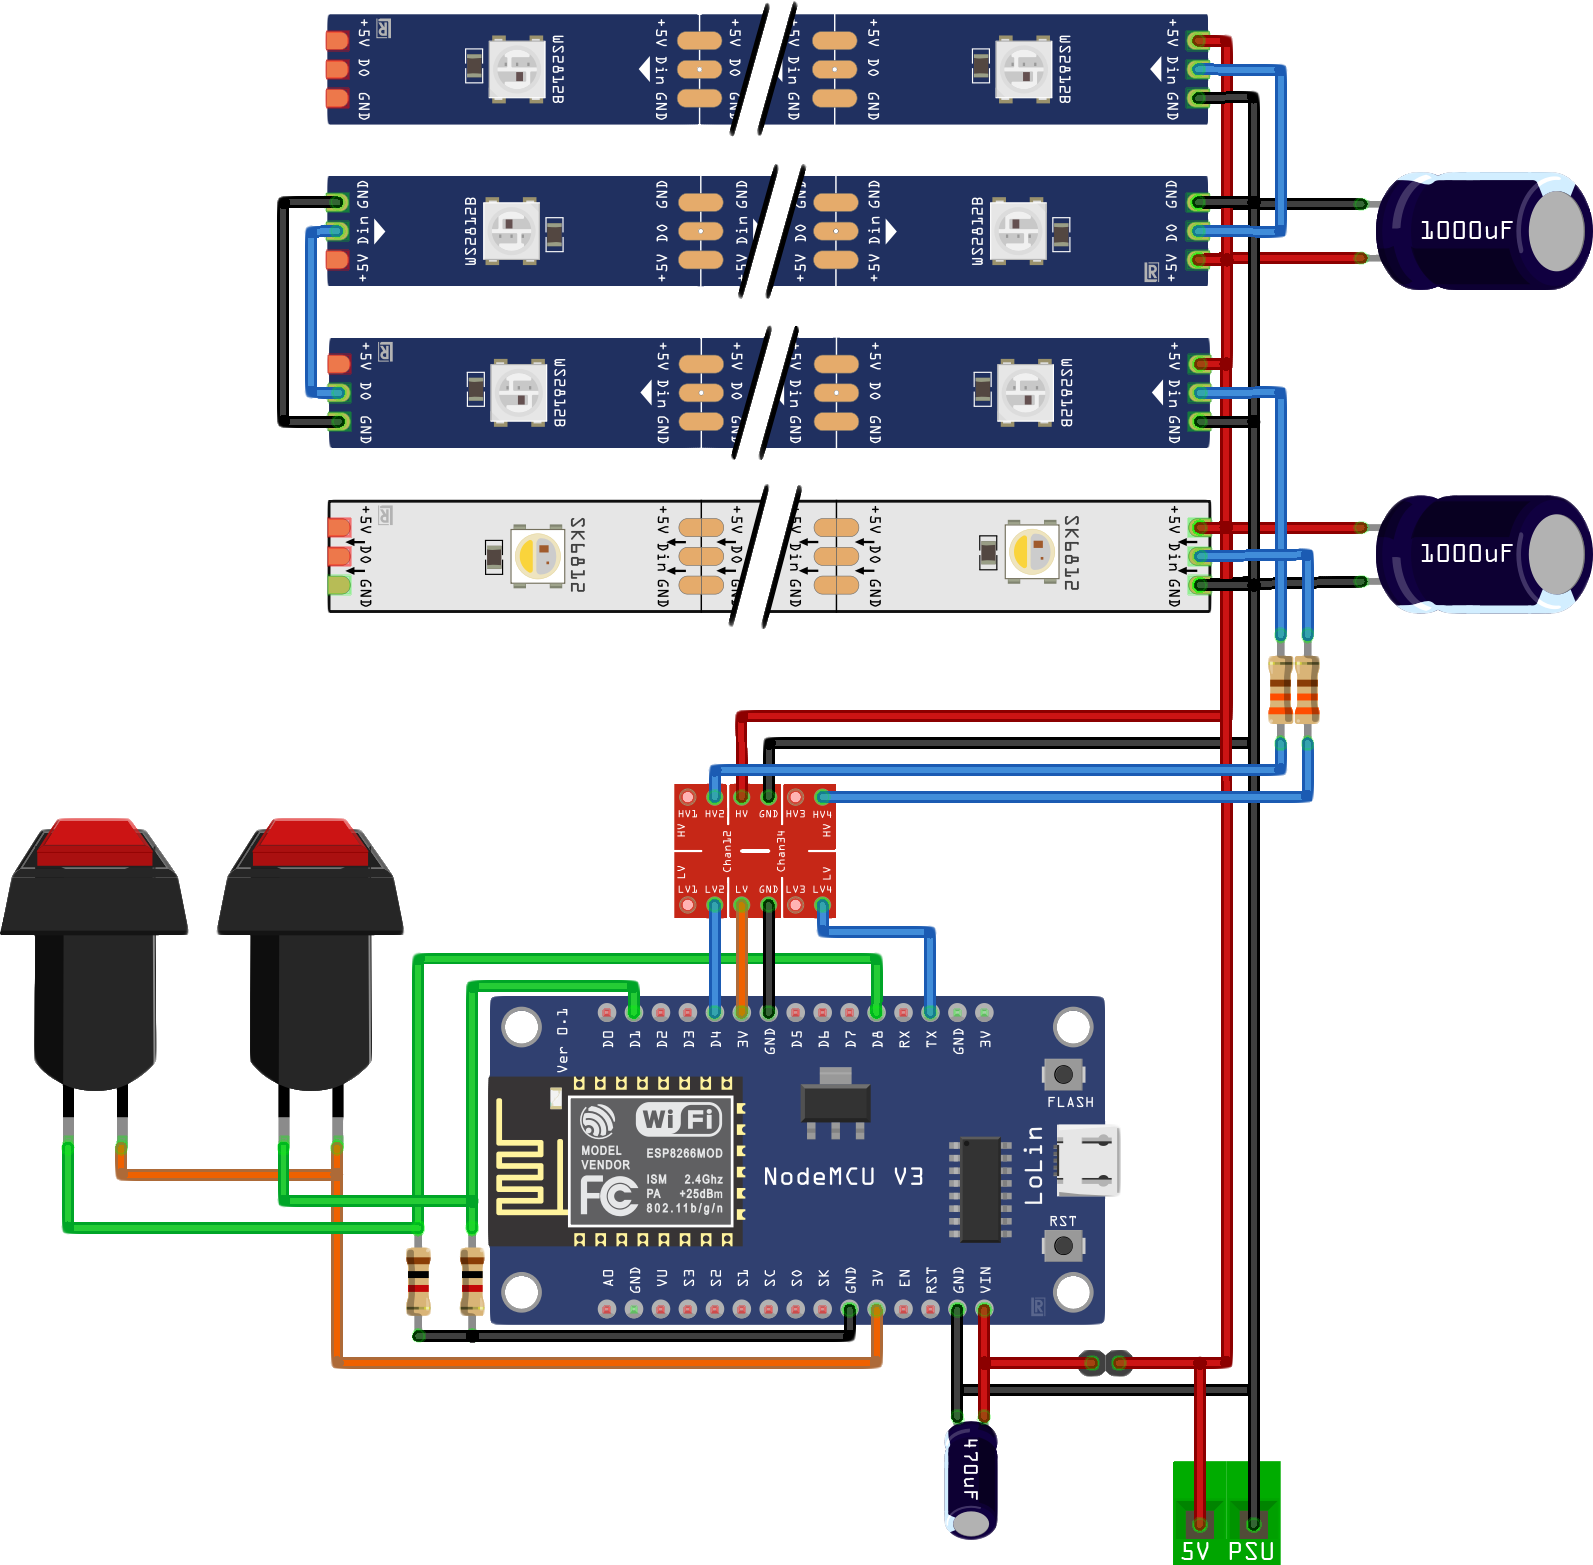
Circuits diagram
3D Printed Case
The case can be downloaded here
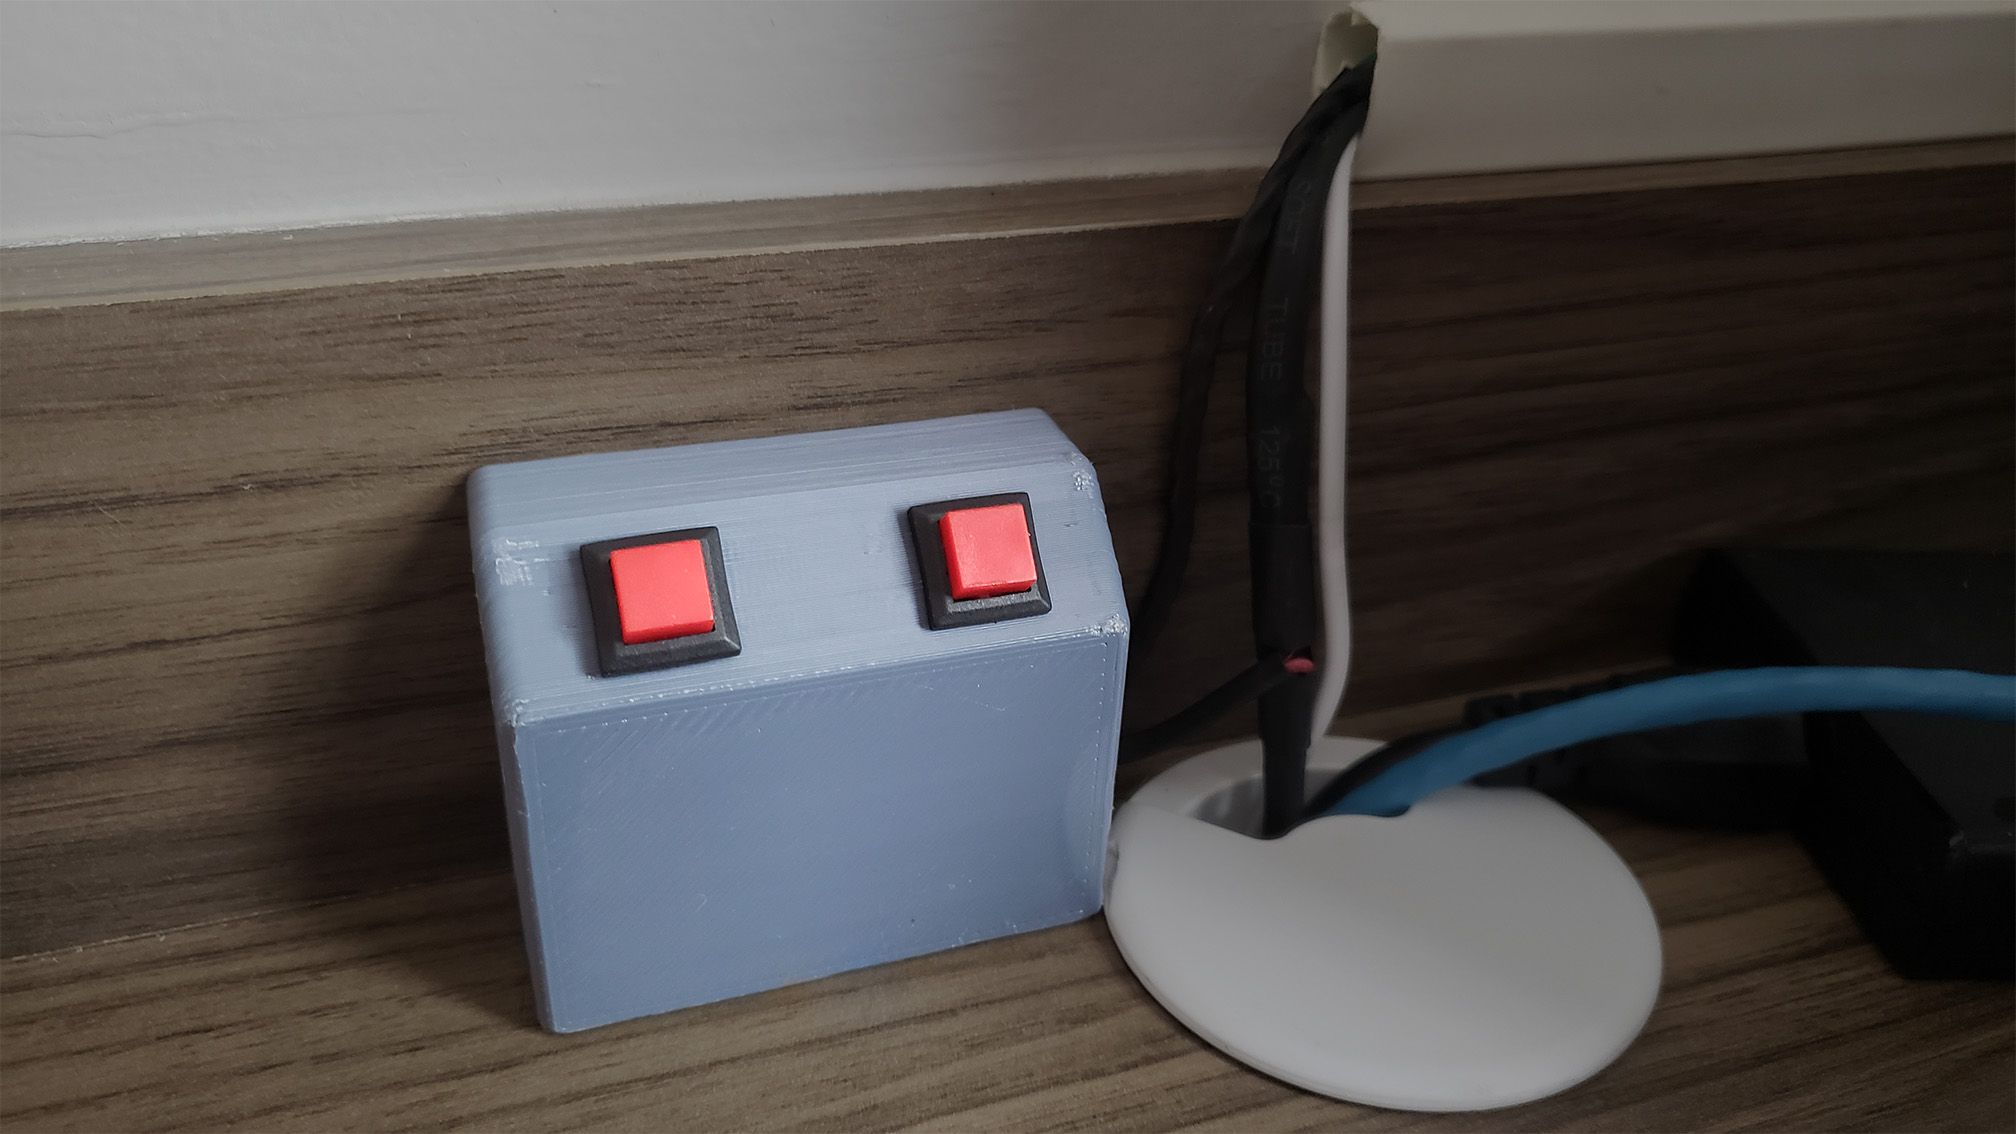
It can be printed in about 1~2 hours depending on your 3D printer specs, but keep in mind that this design was made with my specific desk and wire routing in mind, after all that's the kind of customization where having a 3D printer at home really pays off.
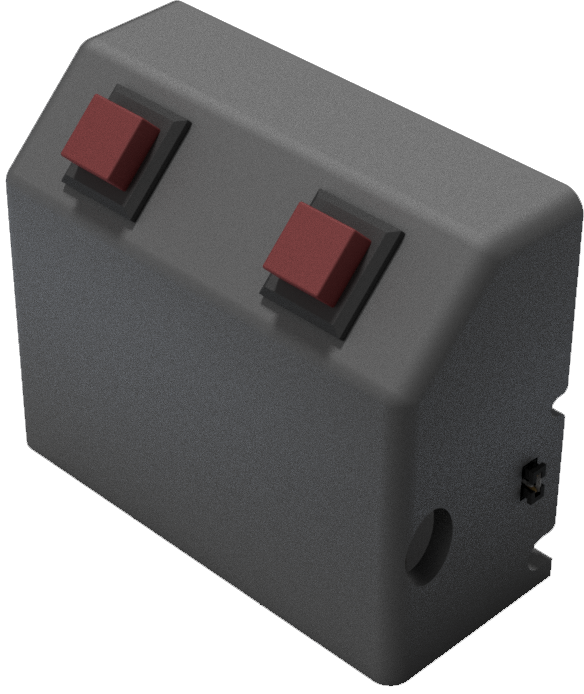
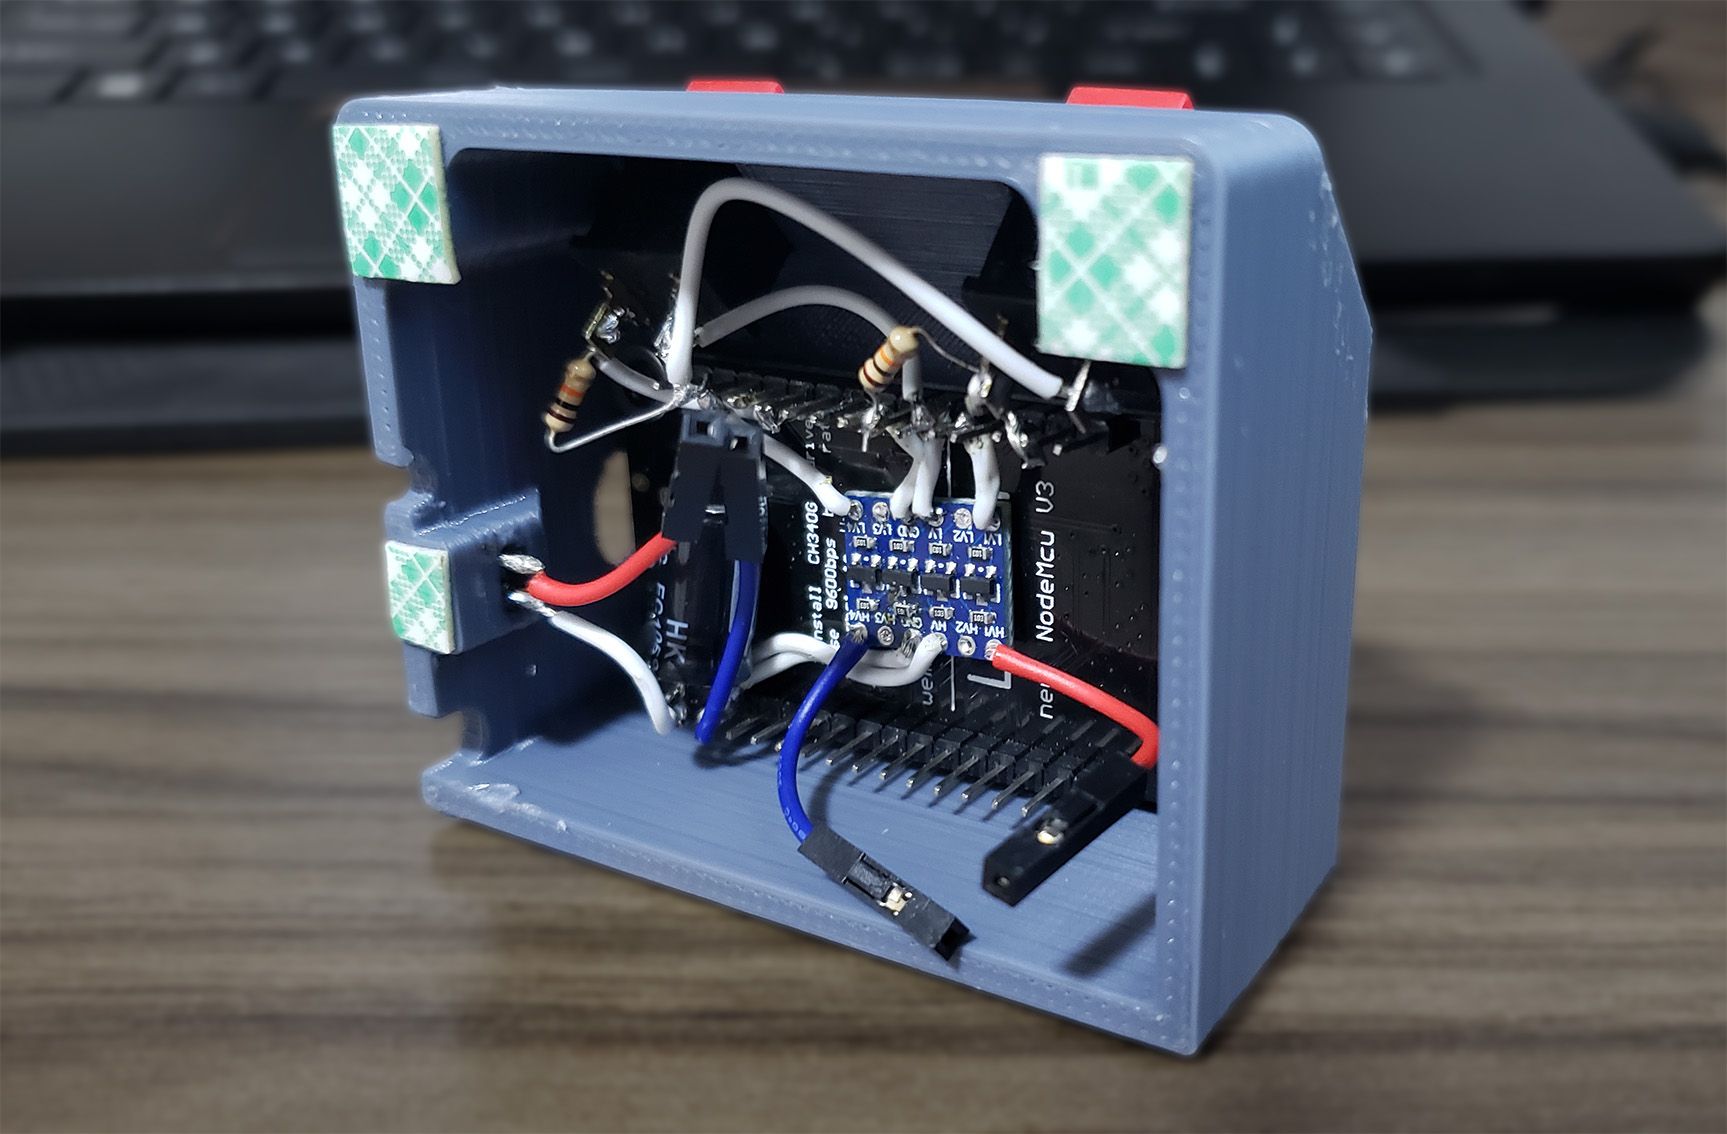
I recommend inserting the NodeMCU into place before inserting the buttons, are there isn't much space between them. After that soldering should be pretty straightforward if you follow the electrical diagram above, always double-check with a multimeter or continuity tester before powering up!
Running the Server
I'll be using Proxmox in this next session, but if you don't have a homelab to follow these steps, a Raspberry Pi should be sufficient. Follow this guide from the official documentation.
Blynk is an easy-to-use IoT platform with hundreds of compatible hardware models and a really cool-looking app. Oh, and hosting your own server makes it free!
Let's start by creating a small container, we'll be using a CentOS 8 template, but with some tweaks Ubuntu will work as well. Go to Create CT and use the following settings:
- Hostname: Blynk (or whatever makes you happy)
- Unprivileged Container: Check
- Template: centos-8-default_20201210_amd64.tar.xz (or newer)
- Disk Size: 4GiB (you can get away with 2GiB)
- Cores: 1
- Memory: 512MiB
- Swap: 512MiB
- IPv4: DHCP
- Start after created: Check
I recommend using your DHCP server and mapping a static IP from there, it keeps things neat, otherwise you could define a static IP outside your router's DHCP range and skip messing with these settings.
With the container created and running, go to its terminal and log in as root, and from there update the container and install the requirements:
dnf -y update
dnf -y install java-11-openjdk libXrender
For security reasons, create an unprivileged user to run the Blynk service:
useradd -rs /sbin/nologin blynk
This will create a service user (-r) not able to log in (-s /sbin/nologin).
From the latest release, copy the link from server-0.xx.xx.jar (NOT the java 8 version!) and download it to your container's opt folder
mkdir -p /opt/blynk/data
curl -LJ https://github.com/blynkkk/blynk-server/releases/download/v0.41.16/server-0.41.16.jar --output /opt/blynk/server.jar
Let's create a Systemd unit file to start the server automatically with the container, as well as create the necessary folders for it to work with an unprivileged user beforehand.
/etc/systemd/system/blynk.service
[Unit]
Description=Blynk Daemon
After=network.target

[Service]
# Change and/or create the required user and group.
User=blynk
Group=blynk

# The UMask parameter controls the permissions of folders and files created.
#UMask=002

# The -data=/path argument can be used to force the config/db folder
ExecStart=java -jar /opt/blynk/server.jar -dataFolder /opt/blynk/data

Type=simple
TimeoutStopSec=20
KillMode=process
Restart=on-failure

[Install]
WantedBy=multi-user.target
mkdir /opt/blynk/logs /opt/blynk/static /opt/blynk/data
chown blynk:blynk /opt/blynk/logs /opt/blynk/static /opt/blynk/data
systemctl enable blynk.service
systemctl start blynk.service
We can verify if everything is working and get the blynk server administrator credentials by asking for the service status with systemctl status blynk.service.

Before continuing, log into the Blink administrative panel at https://server_ip:9443/admin with the credentials from the previous step, go to Users > [email protected] and change the email, name and password. By the way, enabling the mail functionality is outside the scope of this tutorial but can be found here.
Setting up the app
As of July 5, 2021, the Blynk app has been discontinued in favour of a new cloud-exclusive version, which means that the app used here is now called Blynk (legacy). I don't know how long it will take until they remove it completely from the Play Store, so if this happens the latest version tested was 2.27.30, maybe it can be sideloaded from an alternative store...
Let's start by downloading the Blynk app, we will use it to control the led strips' colour, animation and patterns. Open the app, go to Log In and insert the credentials created previously, then click in the traffic-light-looking icon just above the Log In button, switch the toggle to CUSTOM and insert your Blink server IP, confirm and Log In.
From there, in the top right corner of the screen you should locate a + button, click on it, name your project and select ESP8266 as your device, feel free to choose your preferred theme and click CREATE when done.
A popup should appear informing you about your authentication token, if you haven't set up the mail functionality yet you can dismiss it and open the Project Settings menu via the nut-looking icon on the top right corner, from there locate the AUTH TOKENS section and click in Copy All. Paste this token somewhere safe as it will be needed later.
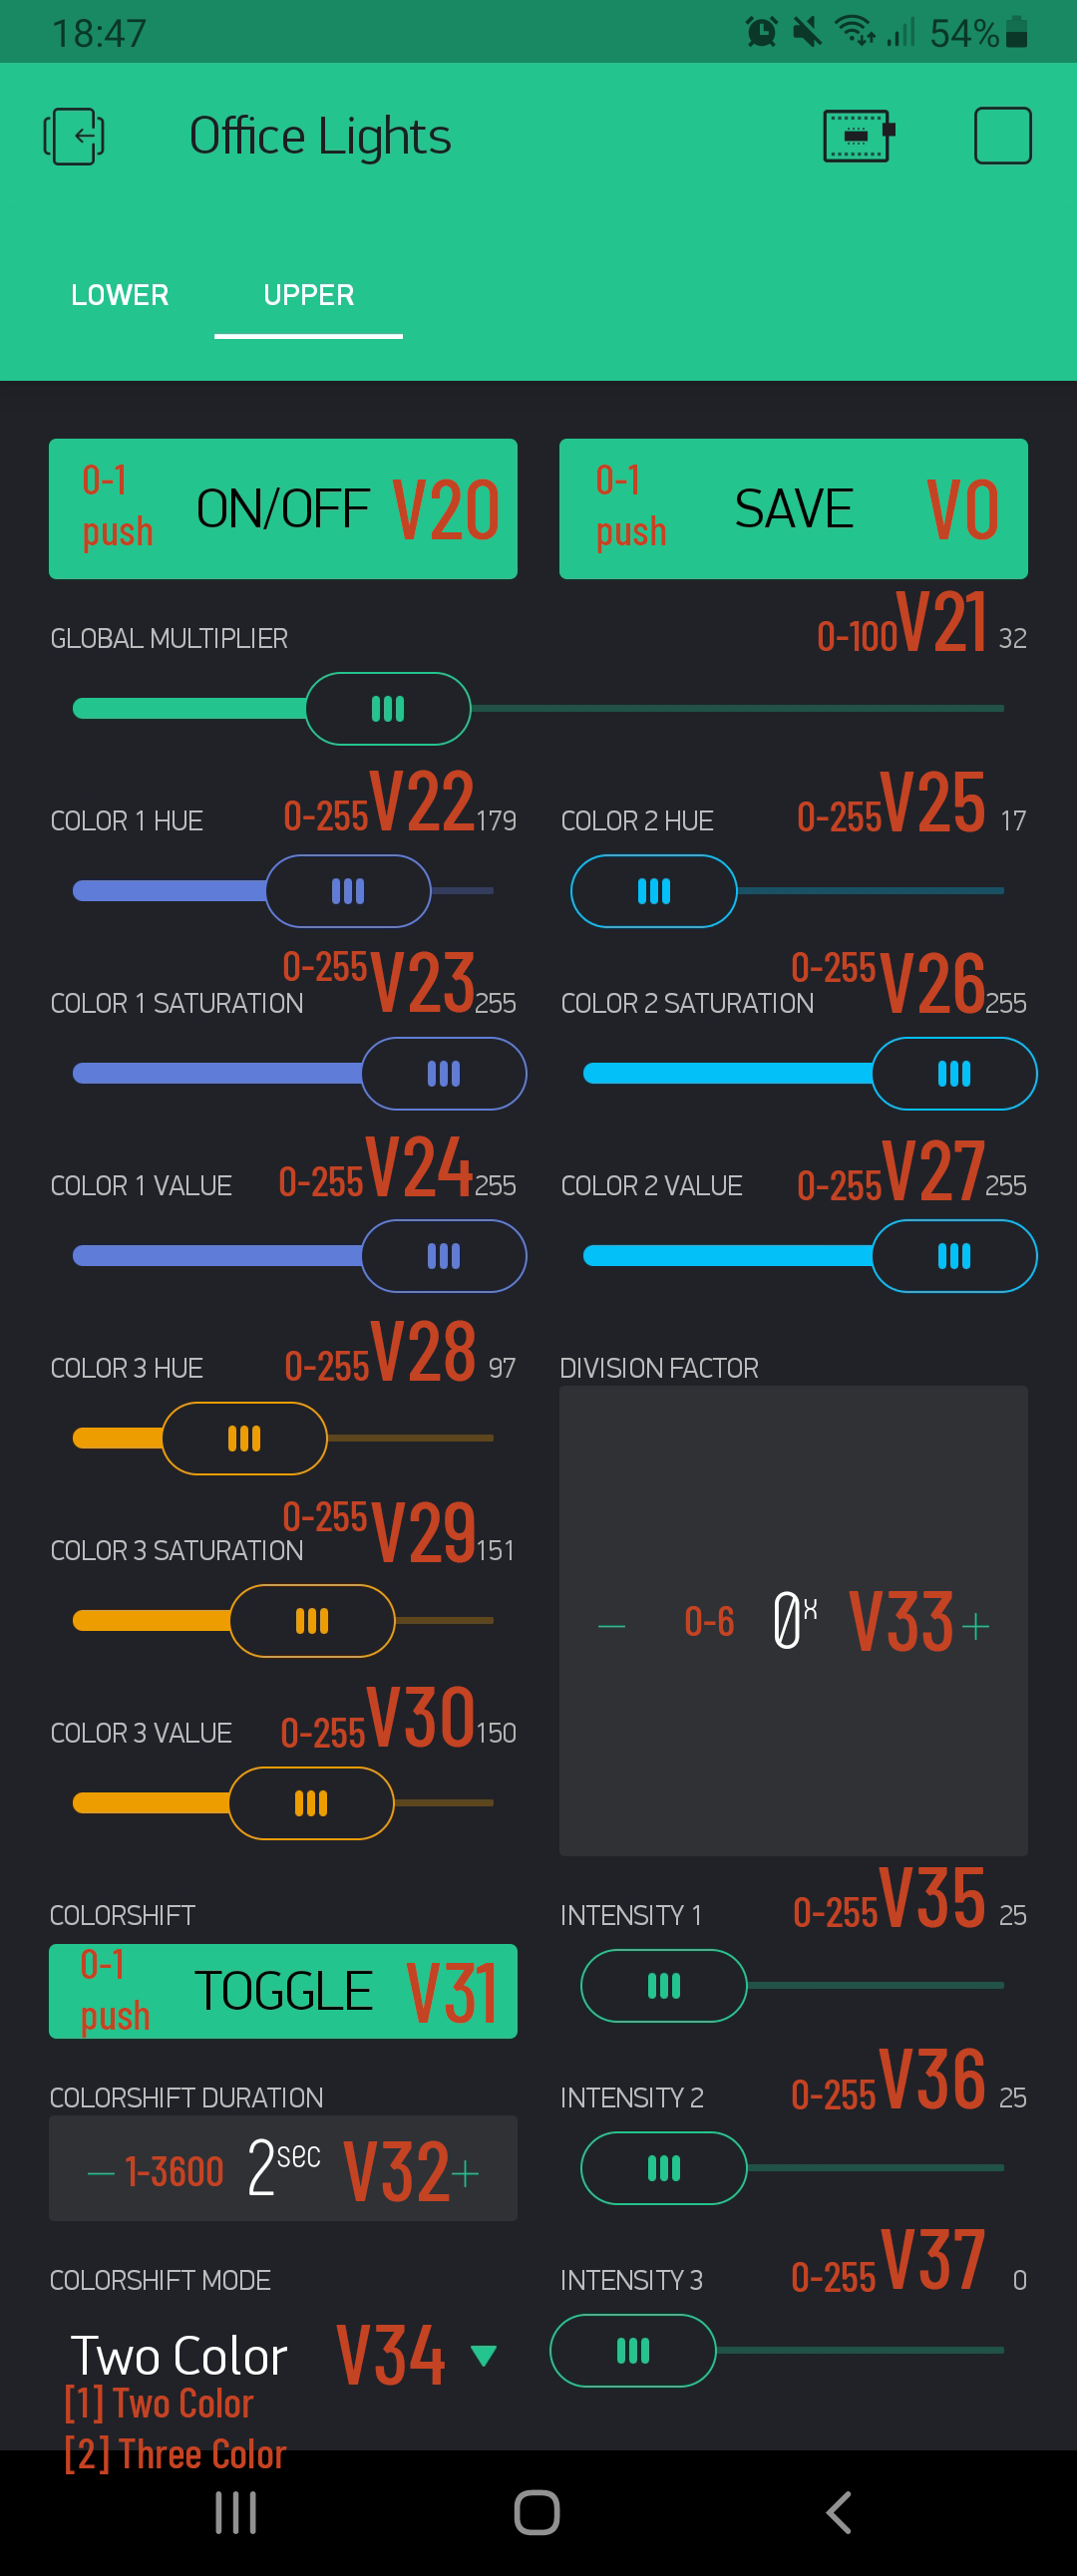
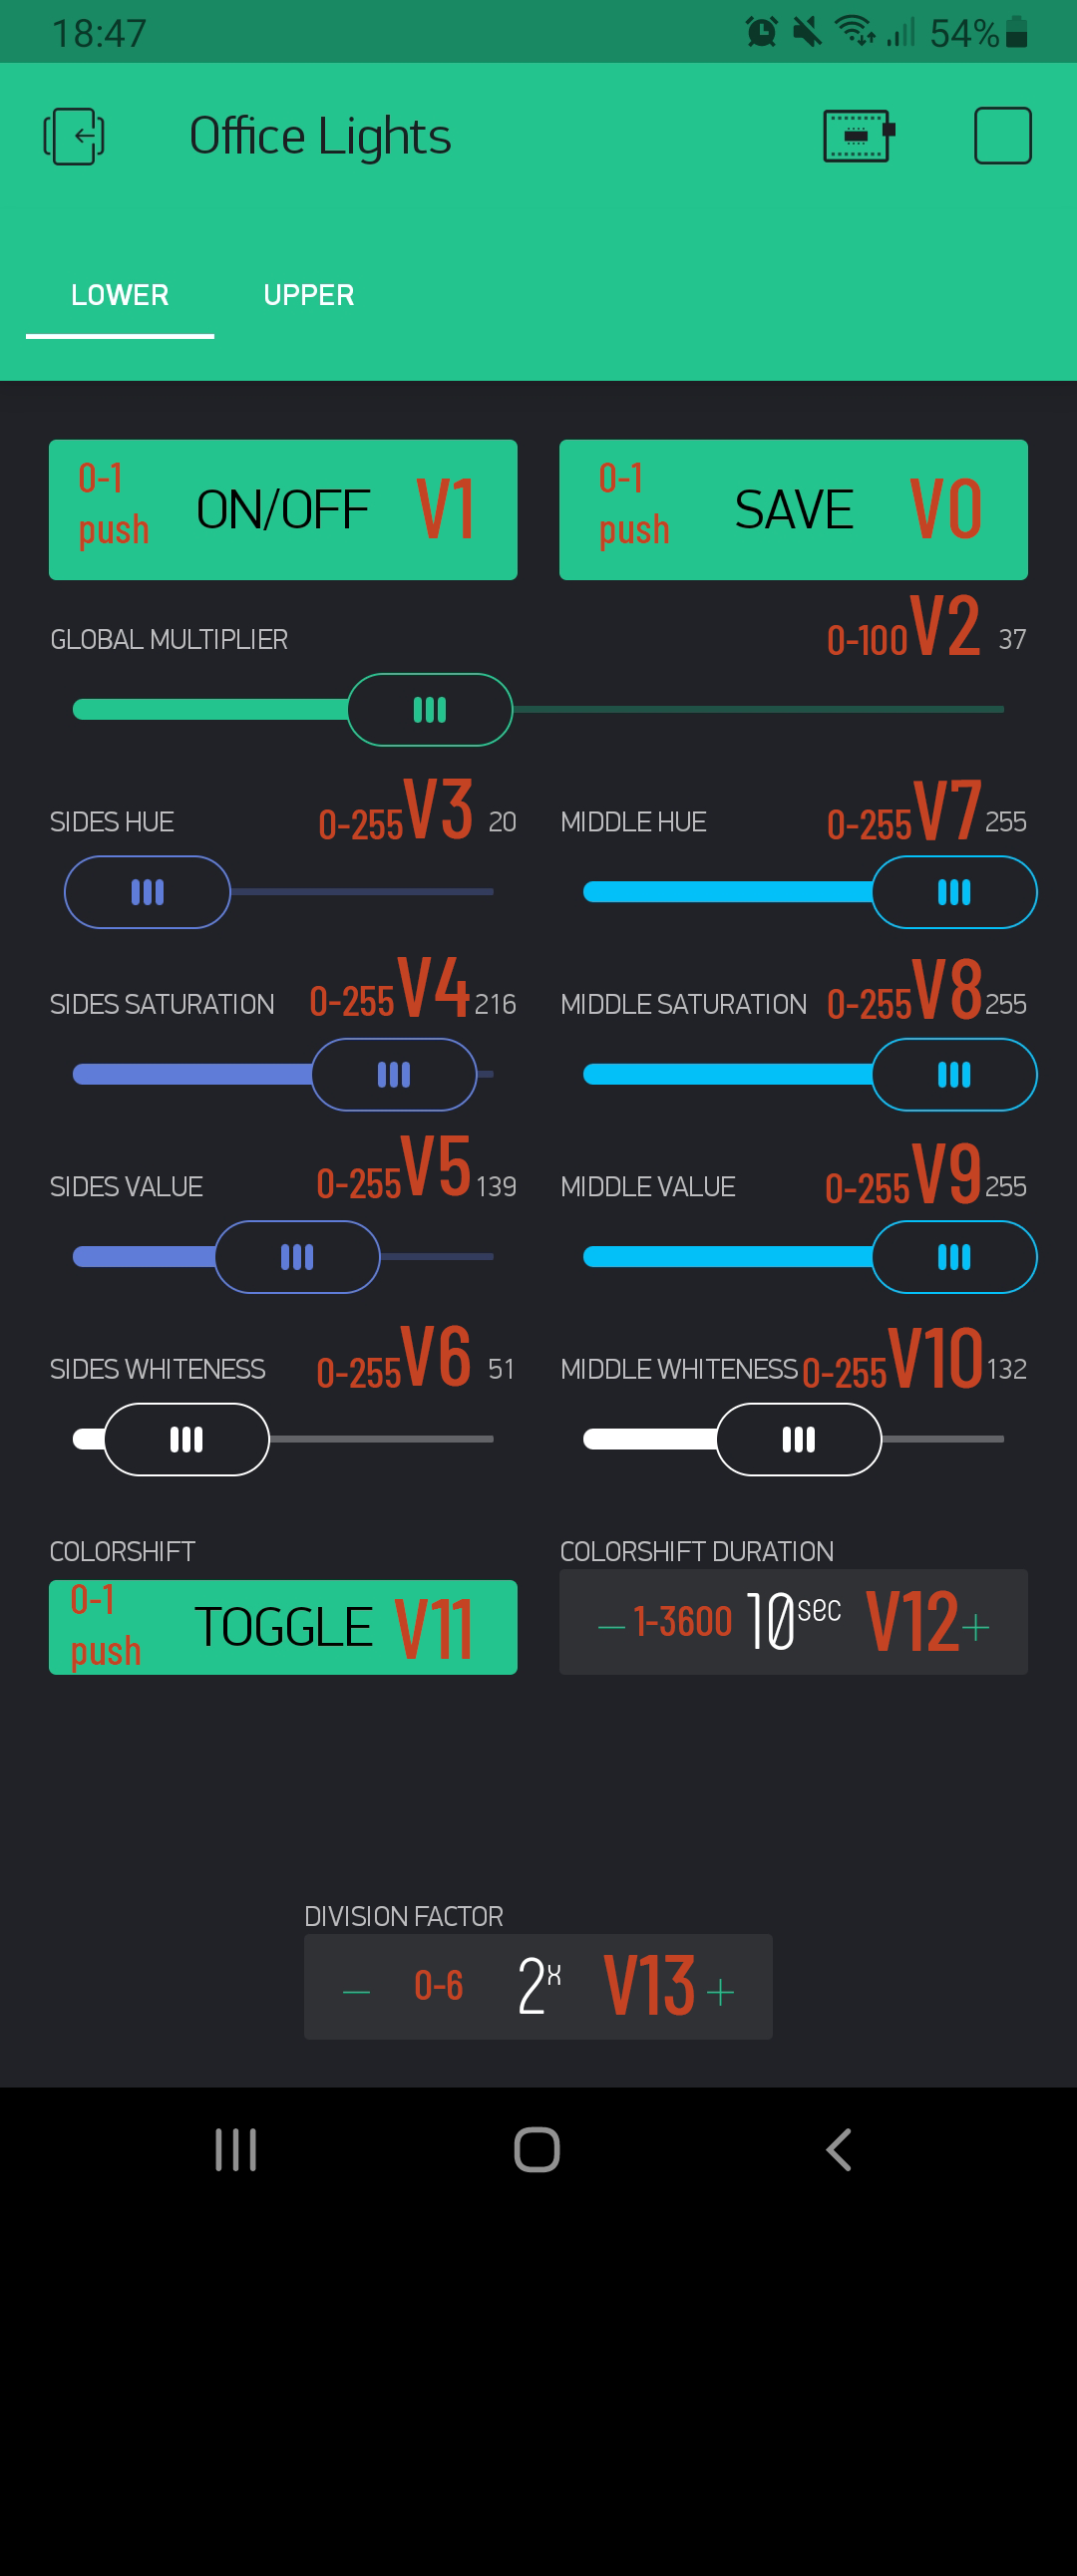
Now to the most tedious step, creating the app interface:
You can open the Widget Box menu via the + shaped icon right next to the Project Settings button, from there you should set up an interface somewhat like what I presented above. The red-orange colour represents the PIN and output range of each slider and button.
Uploading the code
We're almost there, only the firmware left! For this step I recommend a Visual Studio Code installation with PlatformIO, this will make everything much easier.
Download my repository from GitHub, open the PlatformIO's Projects tab and add my project as an existing project, it should automagically set everything up and download the dependencies. There are just some tweaks needed to finish things up, so go to line 36 of main.cpp file:
// Sensitive Fields
const int blynk_custom_port = 8080;
const char* blynk_custom_domain = "192.168.0.100";
const char* blynk_auth = "your_blynk_project_authentication_key";
const char* wifi_ssid = "wifi_SSID";
const char* wifi_pass = "wifi_Password";
These are the main variables to allow the ESP8266 to connect to your WiFi network and Blynk server.
- blynk_custom_port: the port used by Blynk's server, can be left alone if using the default installation settings.
- blynk_custom_domain: Replace the default IP with your server's IP.
- blynk_auth: Add here the Authentication Token generated earlier.
- wifi_ssid: This should be your WiFi network name.
- wifi_pass: Your WiFi network password.
Above these variables, there are some constants that might need adjustment, such as:
- RGBW_PixelCount: Total number of leds used by the desk lamp area. (Pointing down)
- RGB_PixelCount: Total number of leds used by the mood lights area. (Pointing up)
- RGB_Rows: How many rows of mood lighting strips are being used, changing this will require some small tweaks to the save/load function, as there are some hard-coded memory addresses.
With these variables set, remove the power jumper from the panel and plug the USB cable between the PC and the NodeMCU, in VSCode select Project Tasks > nodemcuv2 > General > Upload and wait for the program to do its job, then unplug the USB cable and reinsert the jumper into place, it's done!
Conclusion
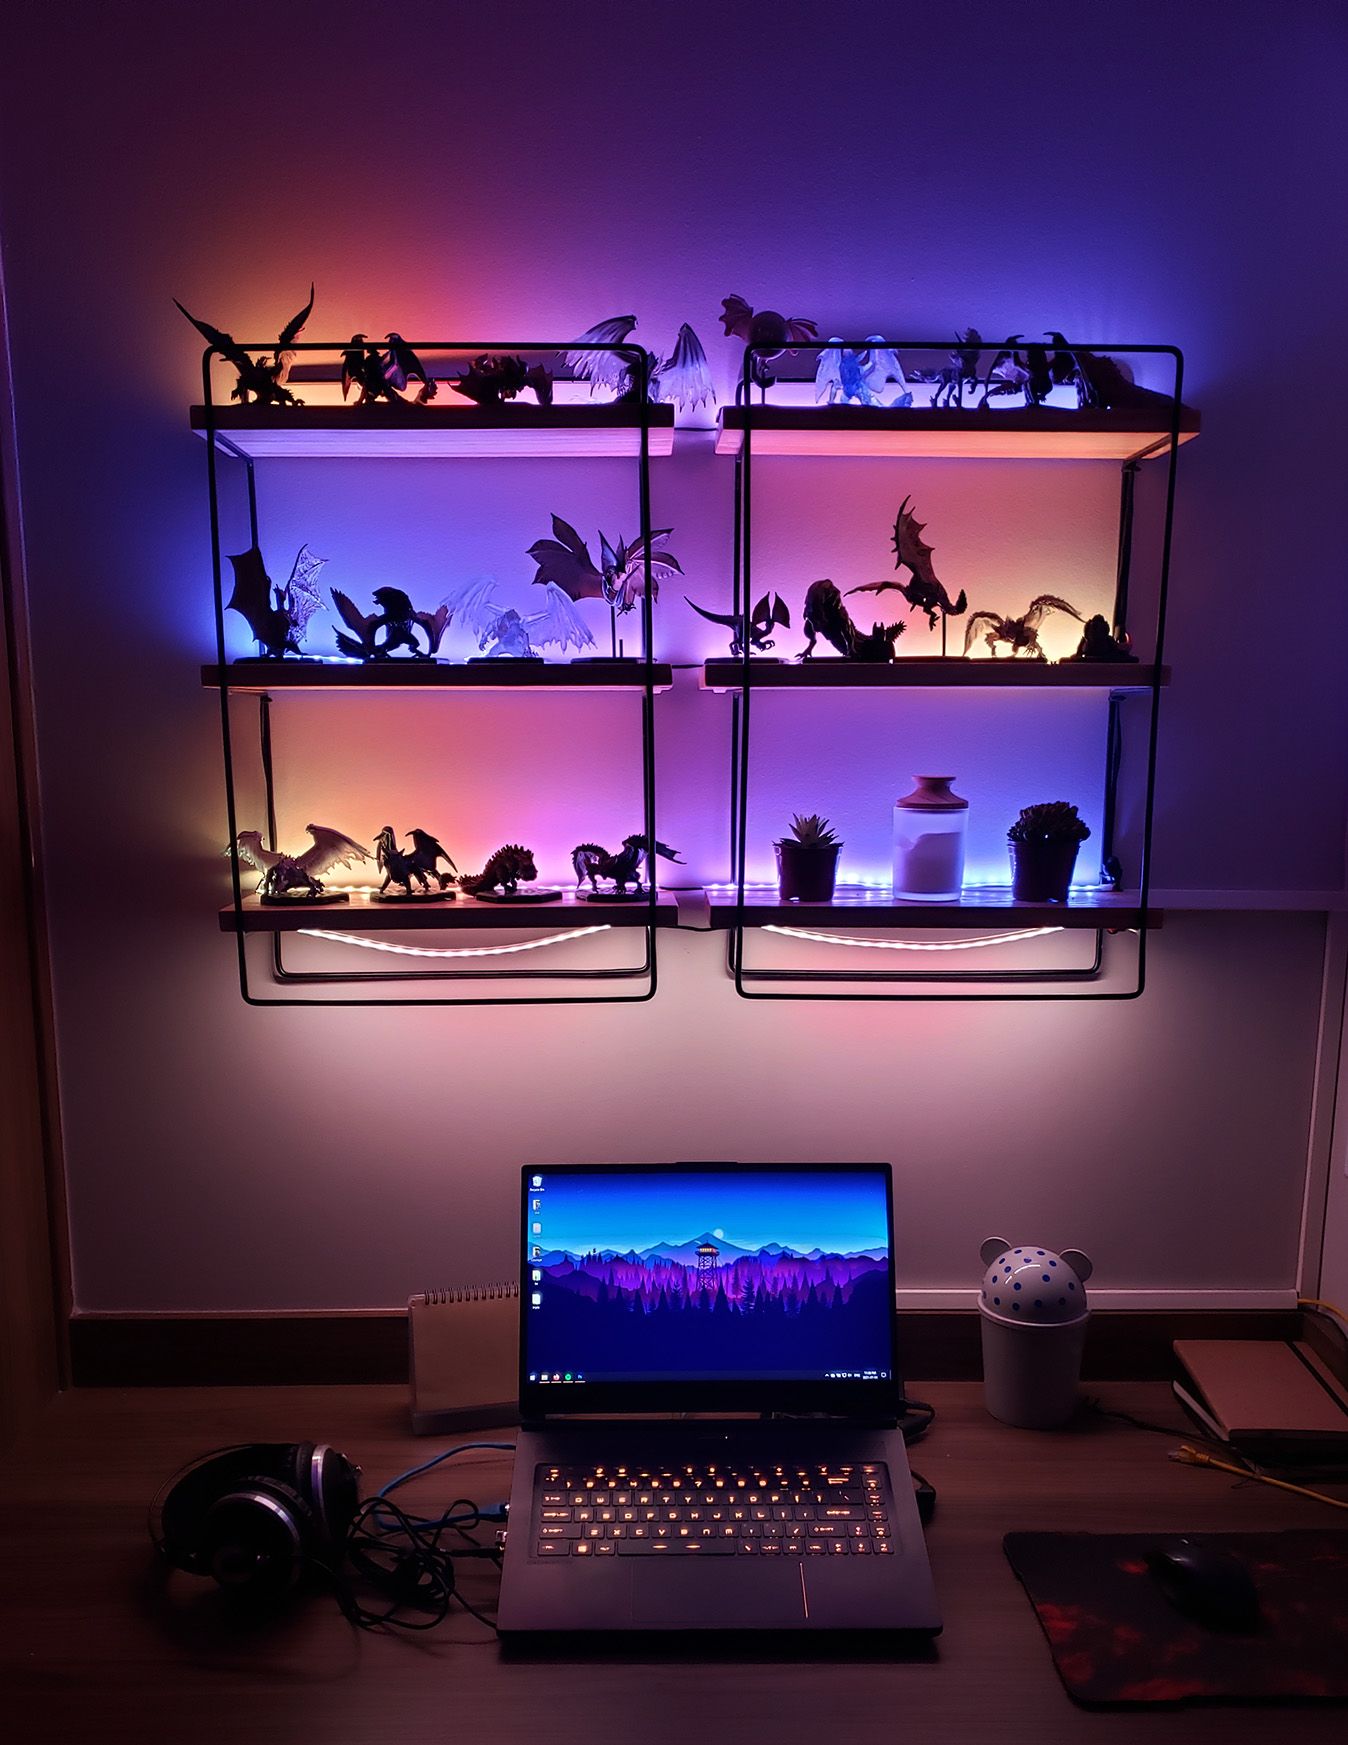
That's it! With all elements in place, managing these smart led strips become way easier, here's a summary of the main functions I've implemented:
- Global Multiplier to the light output, also known as dimming.
- HSV color space with sinusoidal easing between the colors.
- Multiple patterns by changing the waveform period.
- Simple animation with the colors interpolating between each other.
- Possibility to add a third color to the upper leds interpolation, controlling the intensity per row.
It should be enough to achieve most colour combinations and gradients desired, so I couldn't be more satisfied with the end result.