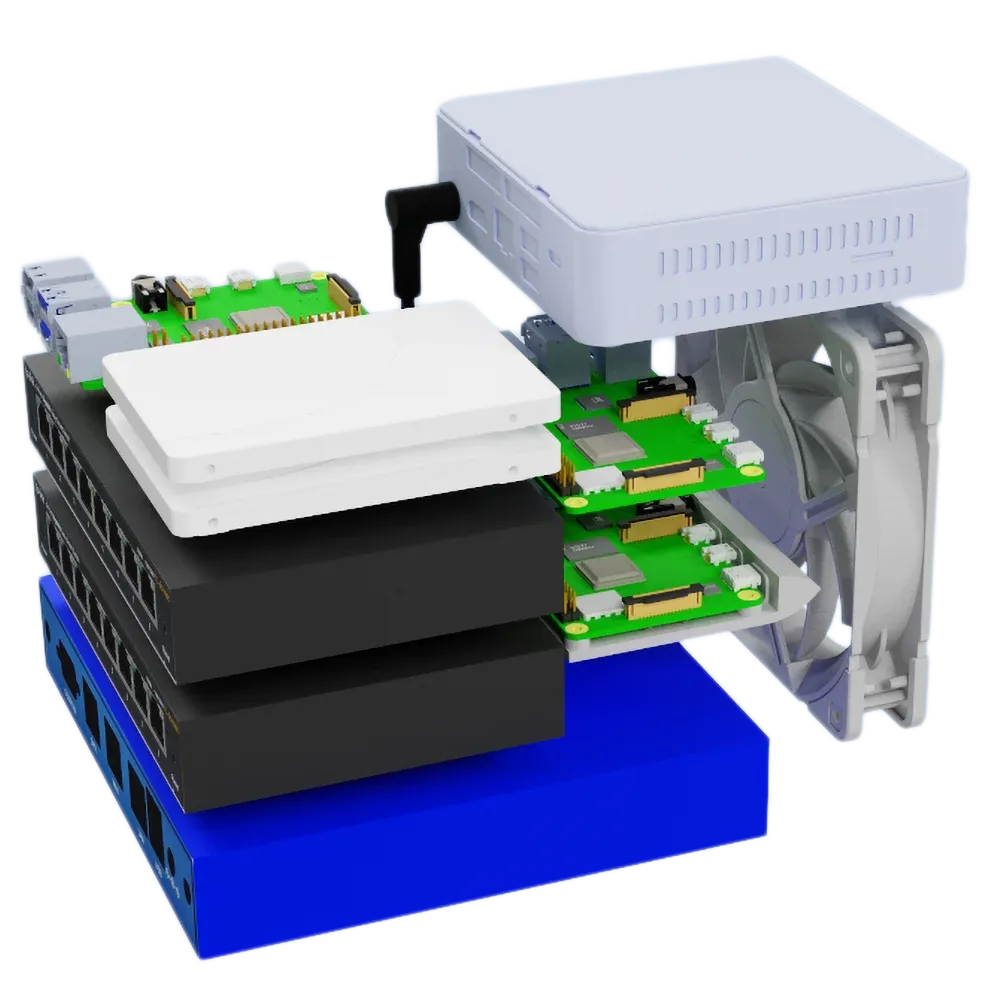
The goal of this project was to create a compact, portable homelab that could easily fit into a moving box and be ready to go with minimal setup. The final dimensions are 178mm x 230mm x 172mm, roughly the size of my Asustor AS4004T NAS. Despite its small footprint, it's designed to house the following:
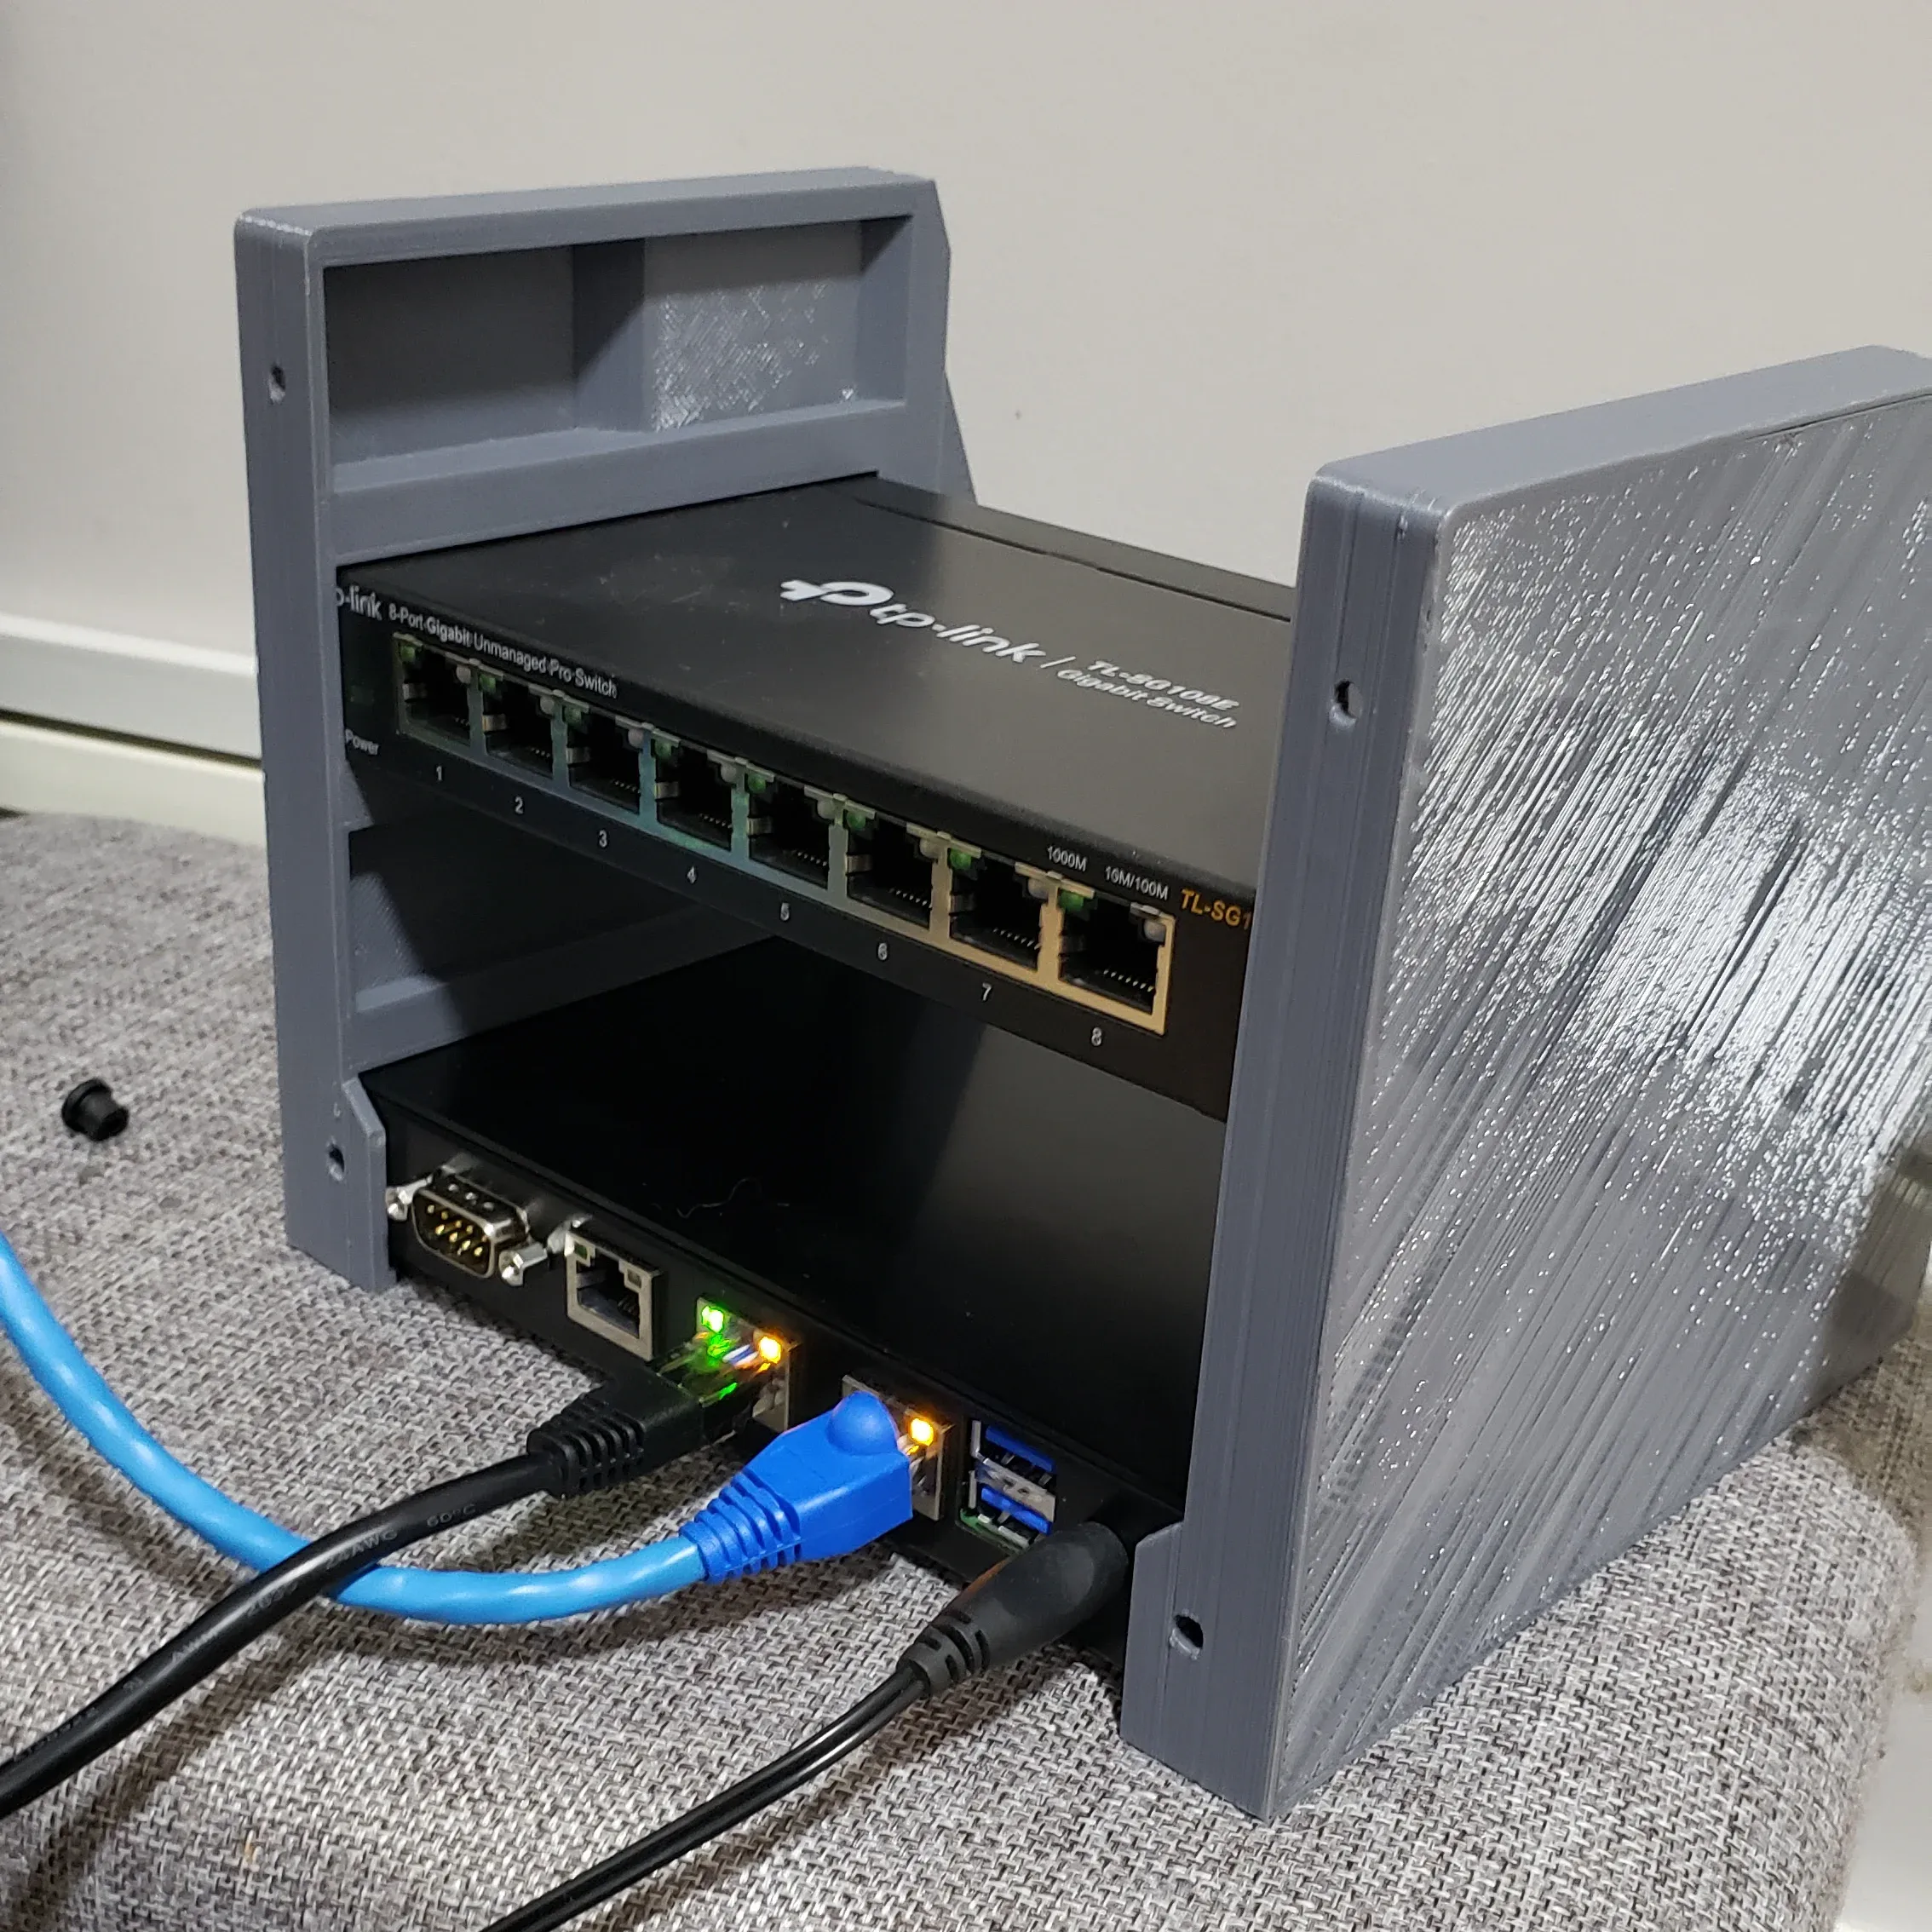
- Two TP-Link TL-SG108E 8-Port Gigabit Smart Switches.
- PC Engines APU2E4 Router with 3 Intel i211AT Gigabit ports, running OPNSense.
- Up to 3 Raspberry Pis (currently populated with 1).
- Intel NUC with an i5-7260U and 32GB of RAM.
- Two 500GB SSDs for additional storage.
- A 12cm Noctua fan to keep everything cool.
On the software side, I'm running Proxmox with a Typhoon Kubernetes distribution deployed using this custom Terraform module.
To keep the cluster state in sync, I'm using FluxCD with my homelab repository.
Design Process
I started the design by measuring the dimensions of the key components: the NUC, router, switches, and fan. I set a constraint to fit everything within a similar volume as my NAS, which helped define the enclosure's size and shape.
Once the main components were put in place, I started filling the empty spaces with extra features, such as slots for SSDs and trays for up to three Raspberry Pis. These "nice-to-haves" were mostly to make the homelab more versatile and allow future upgrades.
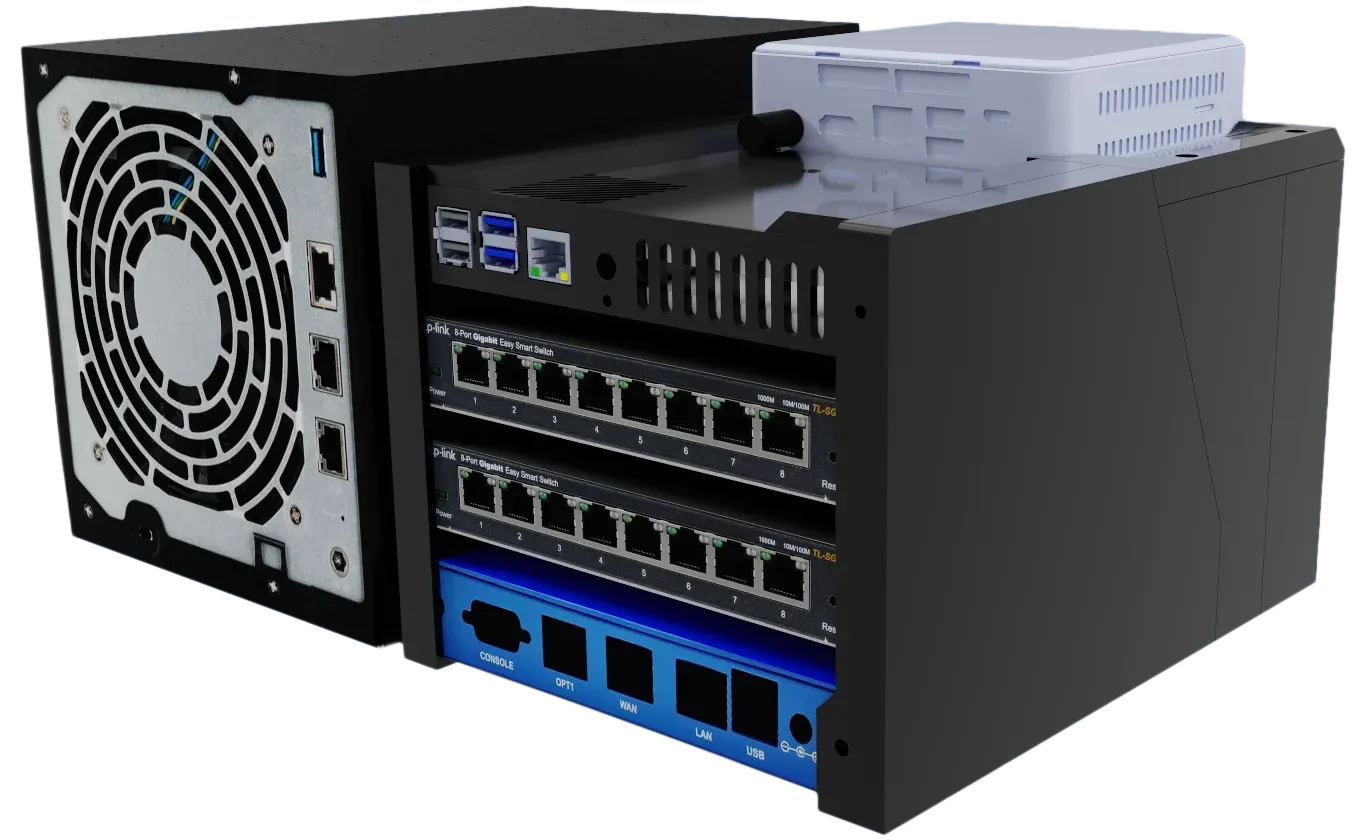
Fits neatly by the side of my NAS.
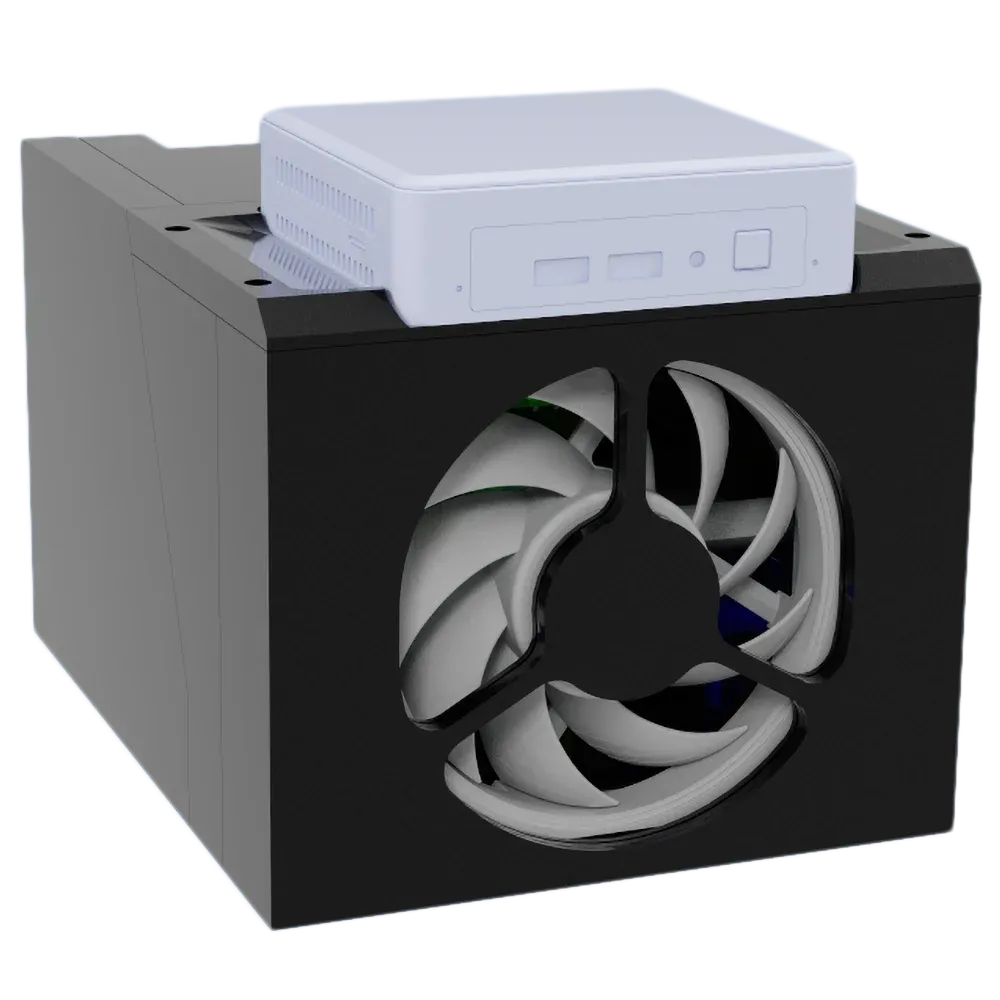
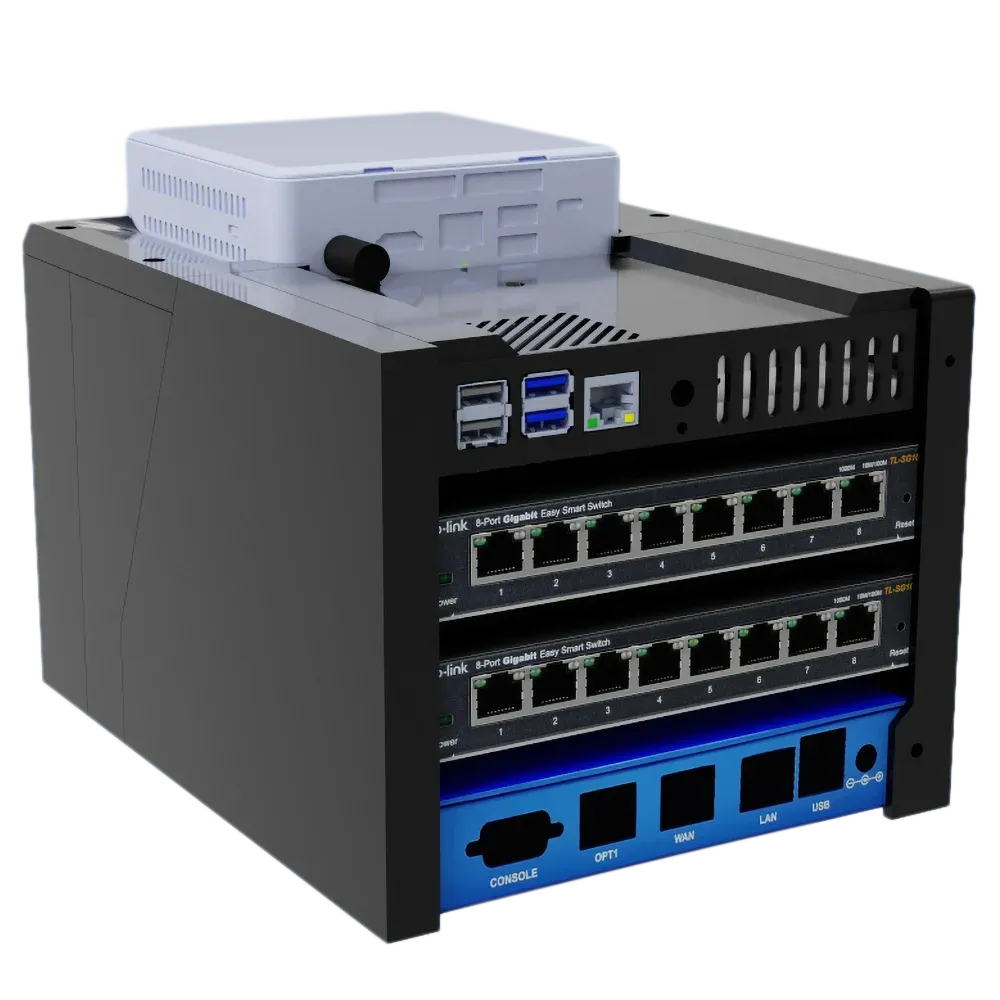
Enclosure
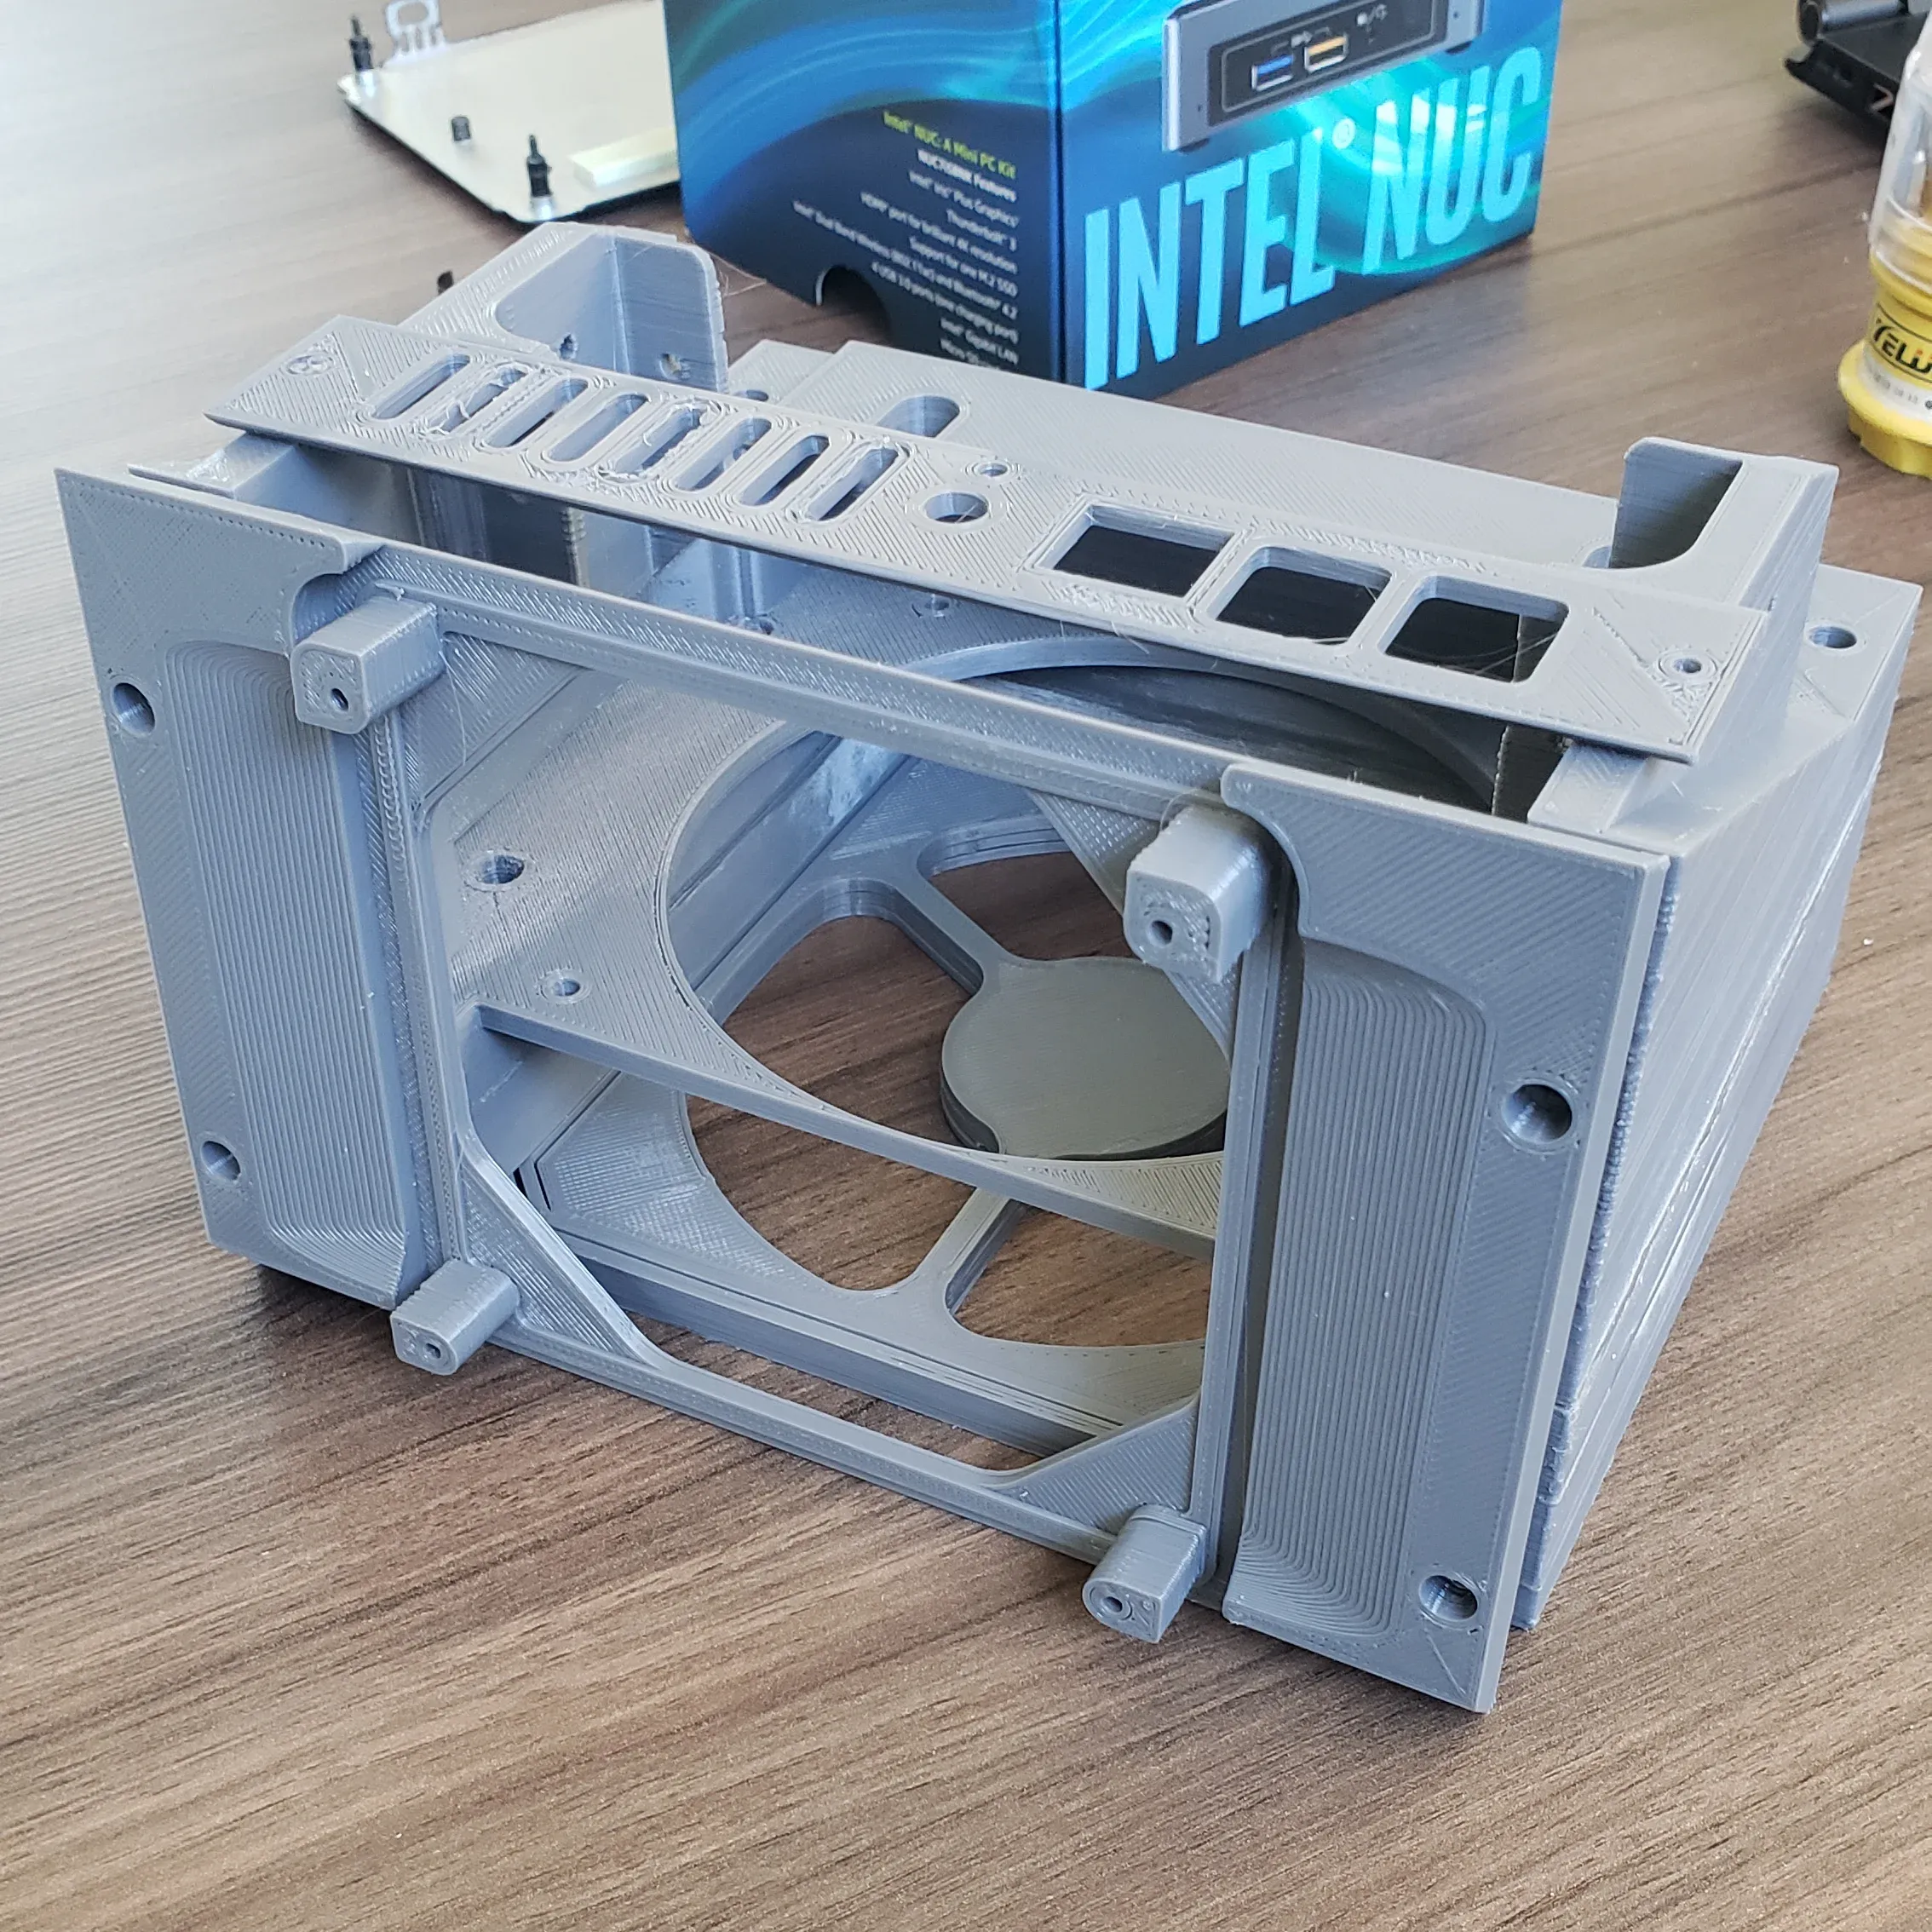
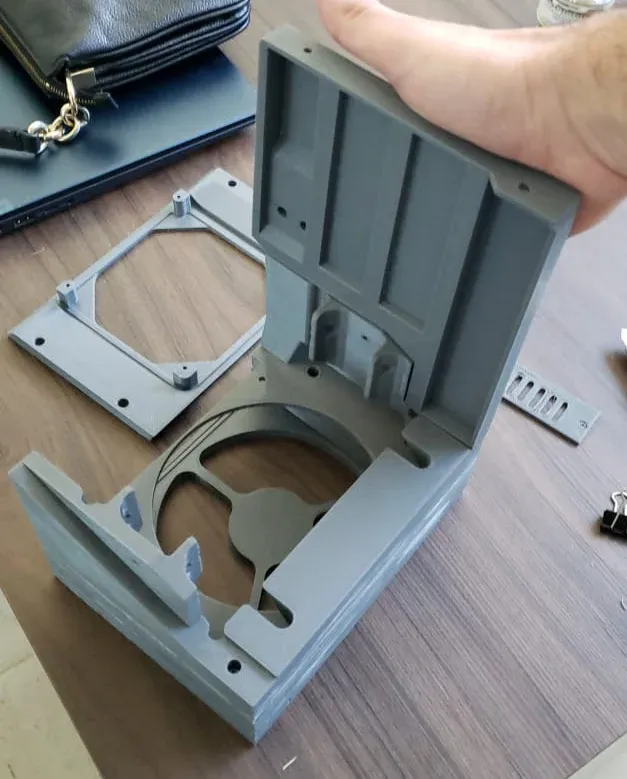
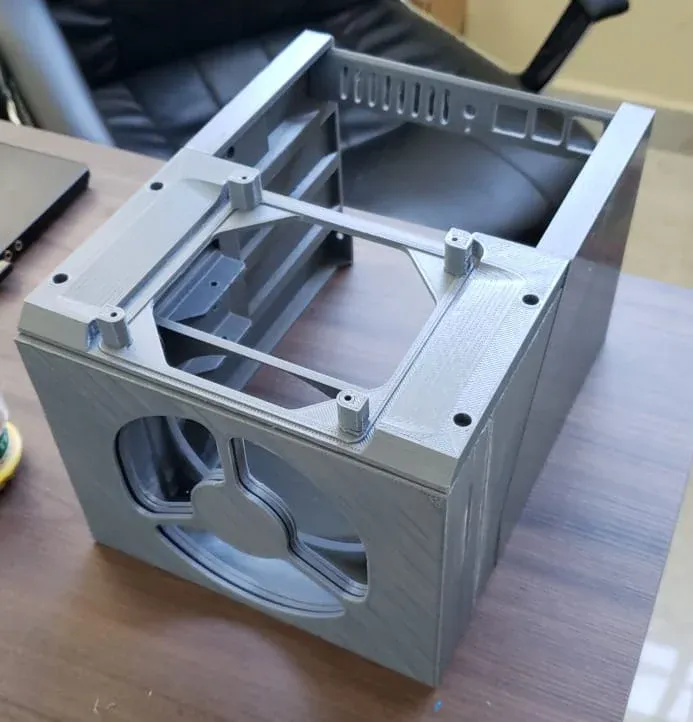
I focused on making the 3d printed parts not take longer than 8 hours to print, that 12cm fan slot was looking a bit dangerous so I've put a removable dust filter in front of it (Can't be seen on the renders).
The NUC mount doubles as a replacement for its bottom plate, so the NUC is attached directly to the structure and the SSDs can be moved to the back, it also helps with cooling.
Build
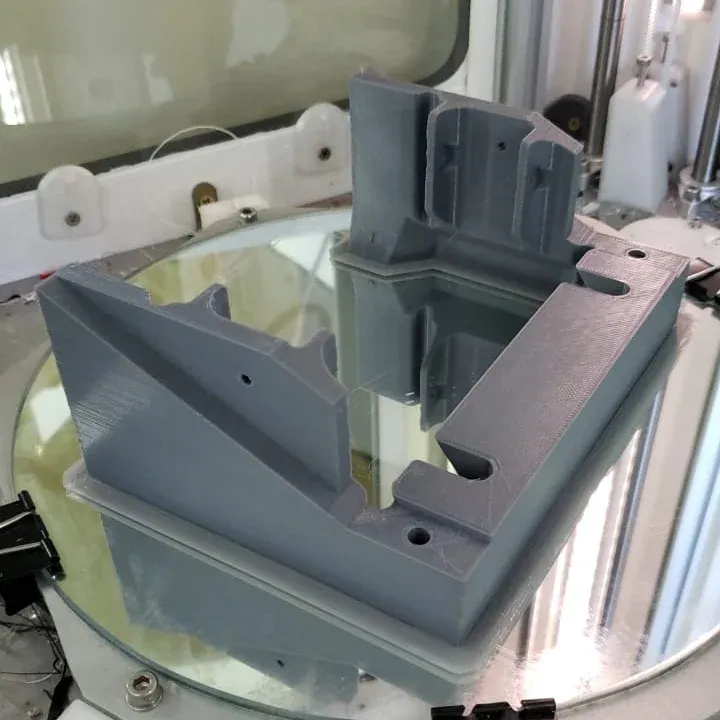
The build process went mostly smoothly, although I had to reprint the switches/router tray after botching the measurements the first time.
Because the homelab will be in a very visible place in my living room, I printed in gray PLA to have a neutral base to paint later, was getting a bit tired of the 3d-printed vibe with layer lines everywhere.
Fit test
Smoothing & Finishing
I didn't have access to specialized finishing materials for 3d printed parts, so I turned to automotive body filler and tons of sanding to get rid of the layer lines, followed by 3 layers of spray paint for a thicker coat.
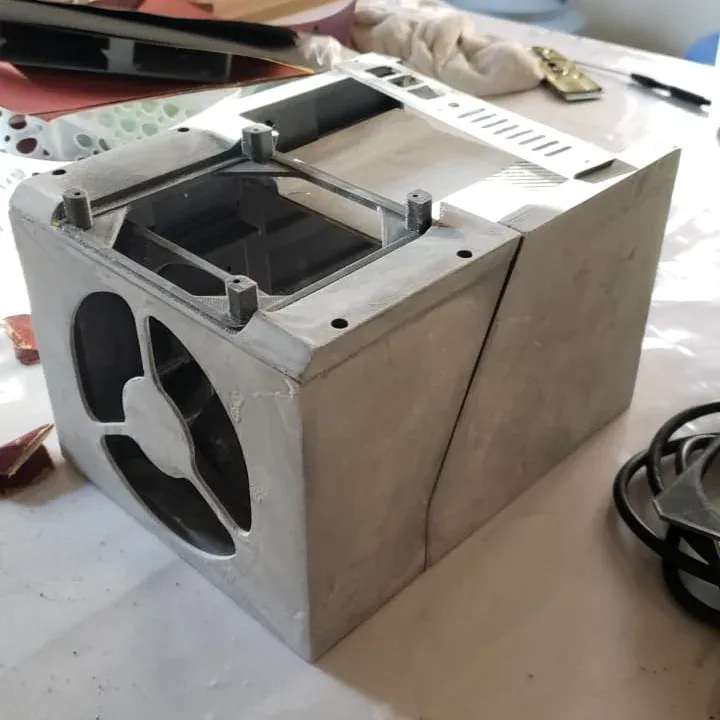
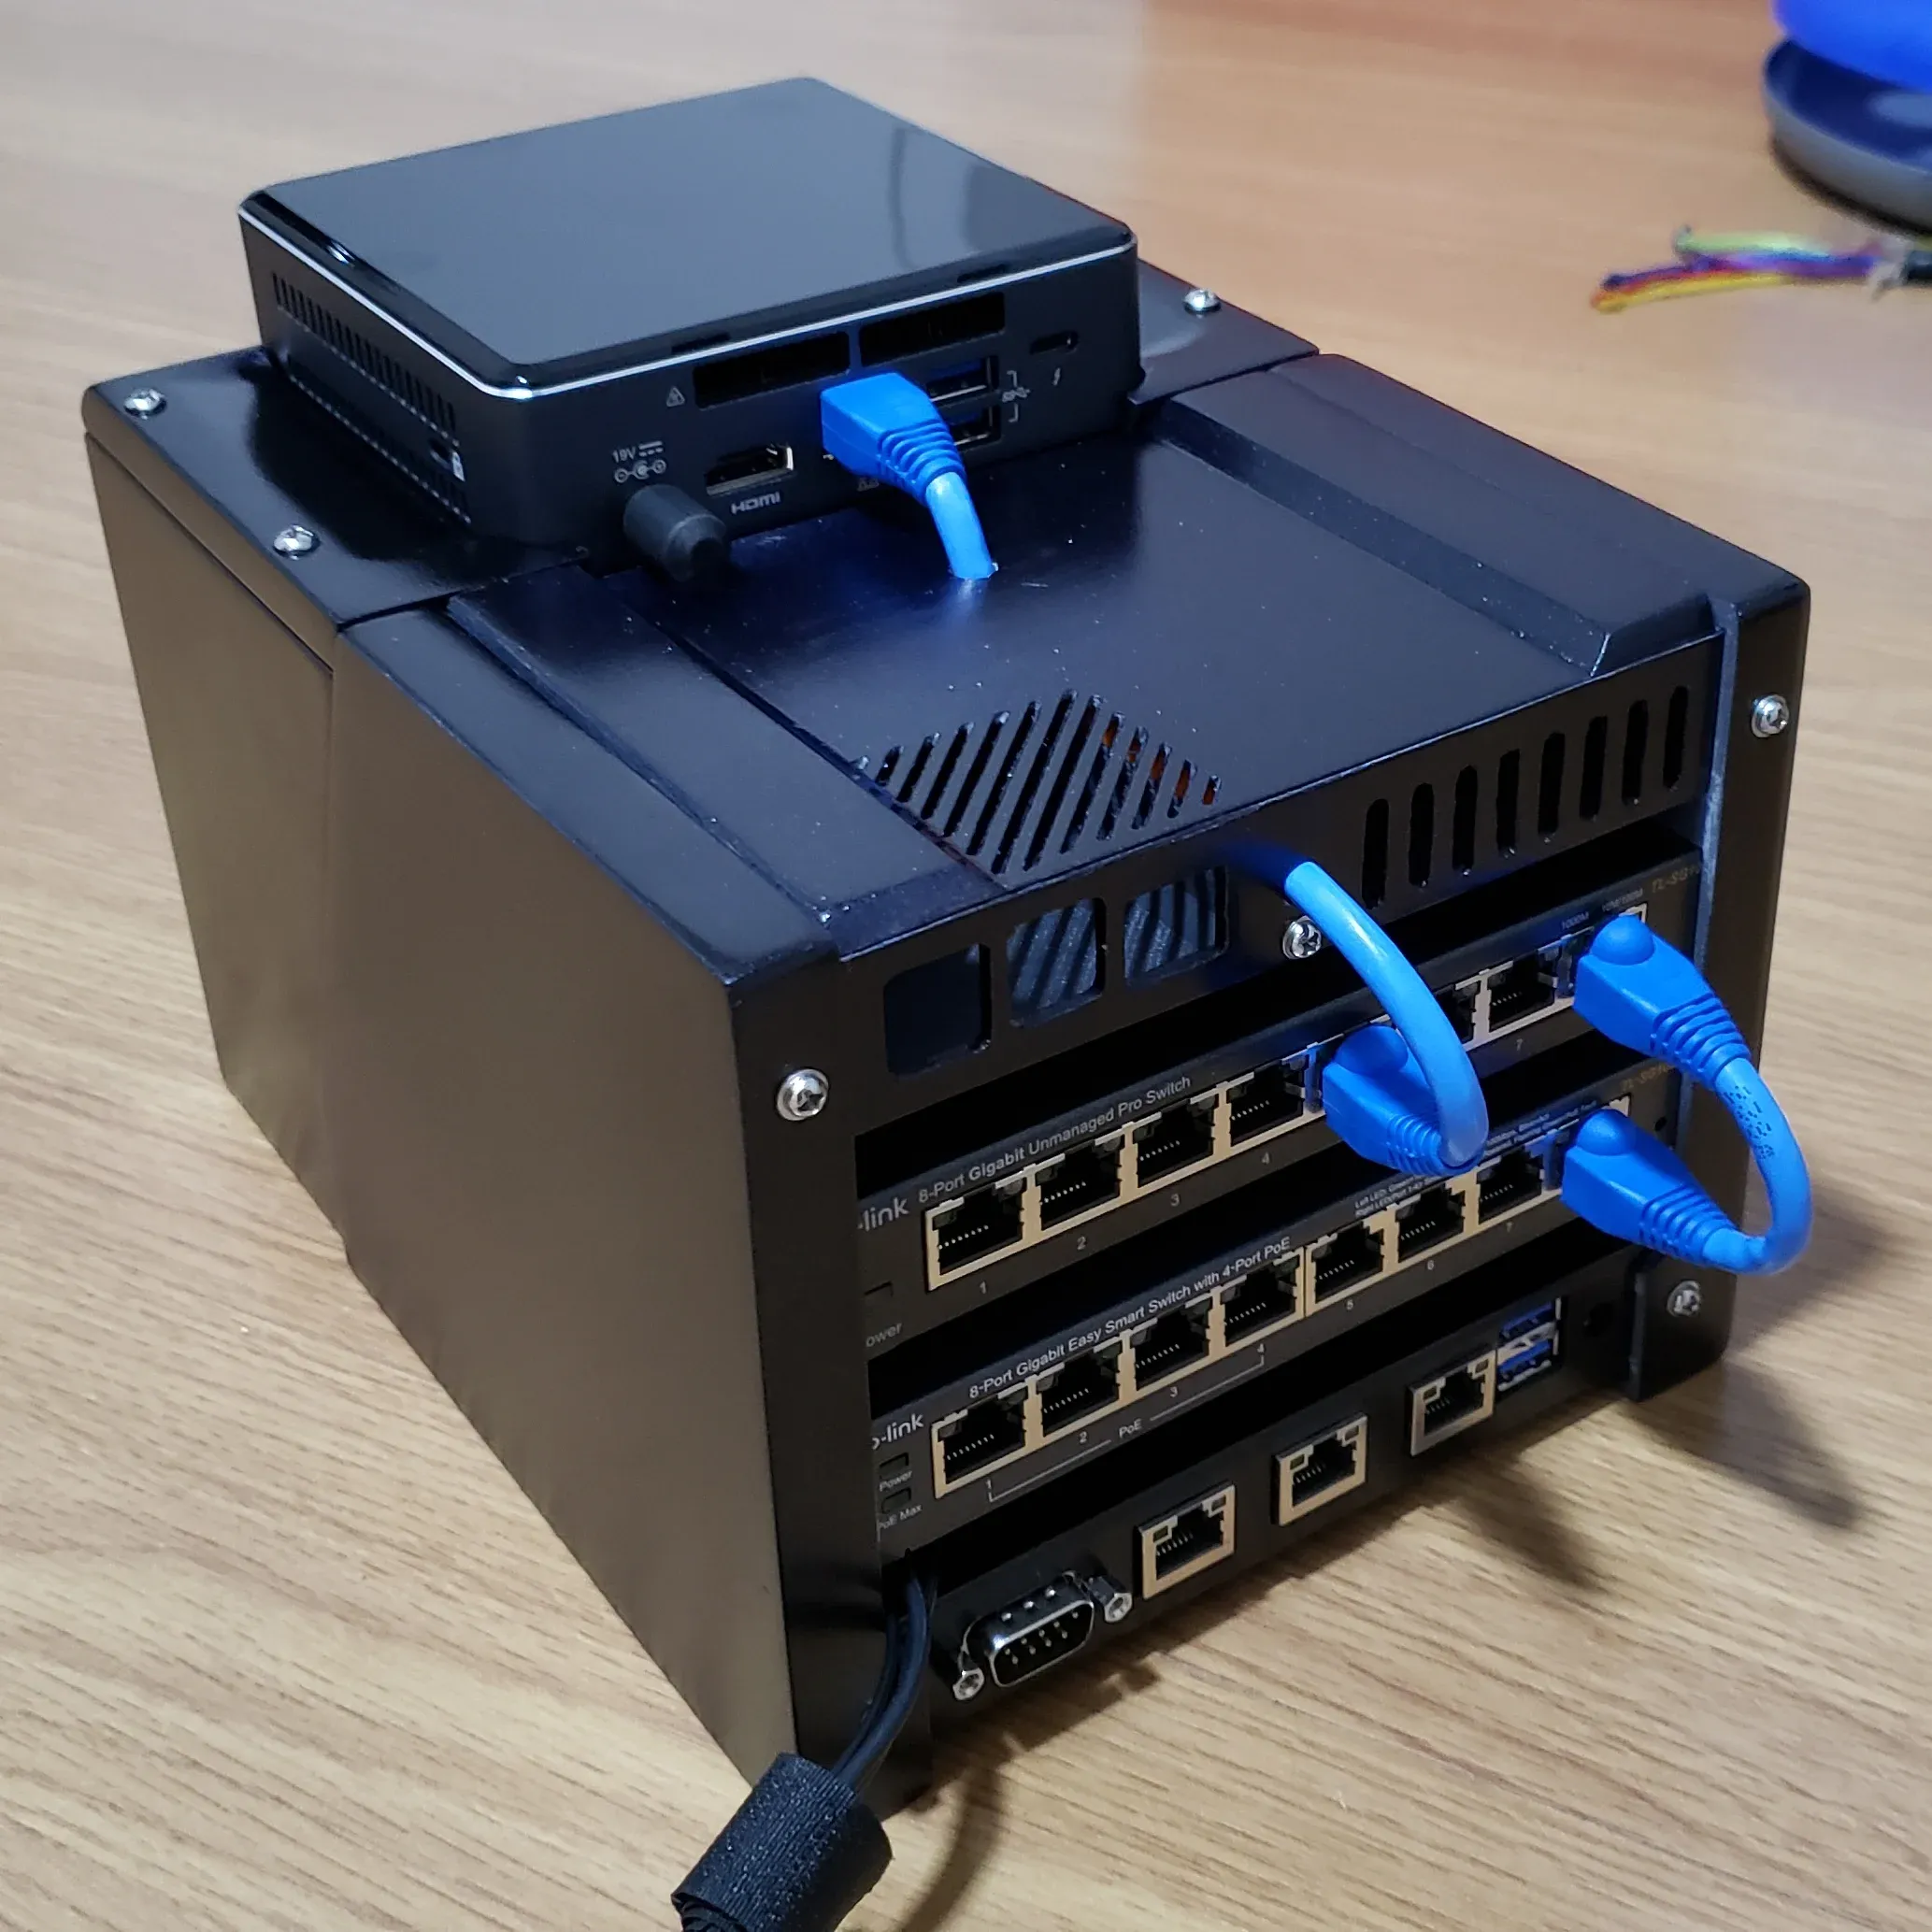
I had a few minor clearance problems caused by the filler and paint that luckly I was able to sand down, but I'm thinking about redoing the Raspberry Pi/SSD tray... A couple of slots is all I need to allow the ethernet cable to be replaced without some awkward close-quarters crimping.
I still gotta populate the internal Raspberry Pi trays, but so far I've only been hosting a few lightweight deployments. The single Raspberry Pi I have in the back slot is being used for Pi-Hole so even that has spare CPU cycles.