After years of 3D printing, I found myself drowning in half-empty filament spools. Worse yet… most of them were far too wet for 3D printing standards!
For the record: yeah, I know I should have stored each spool in resealable plastic bags. But when I was starting out, it didn't seem like a big deal. Unfortunately, my nylon filament had other ideas.
That's when I stumbled upon a toaster oven in a pile of discarded junk. Surprisingly clean and unused, its only flaw was a broken timer that stopped it from heating, which is probably the reason it was thrown out. So sad.
I could have fixed the oven, but even though it seemed to have never been used, I was not comfortable eating anything coming out of the garbage oven. Luckily, 3D filaments don't care about that! That said, the oven's limitations were a problem:
- It only allowed up to two hours of continuous operation without intervention.
- The effective minimum temperature was 100°C because the dial didn't even "click" below that point.
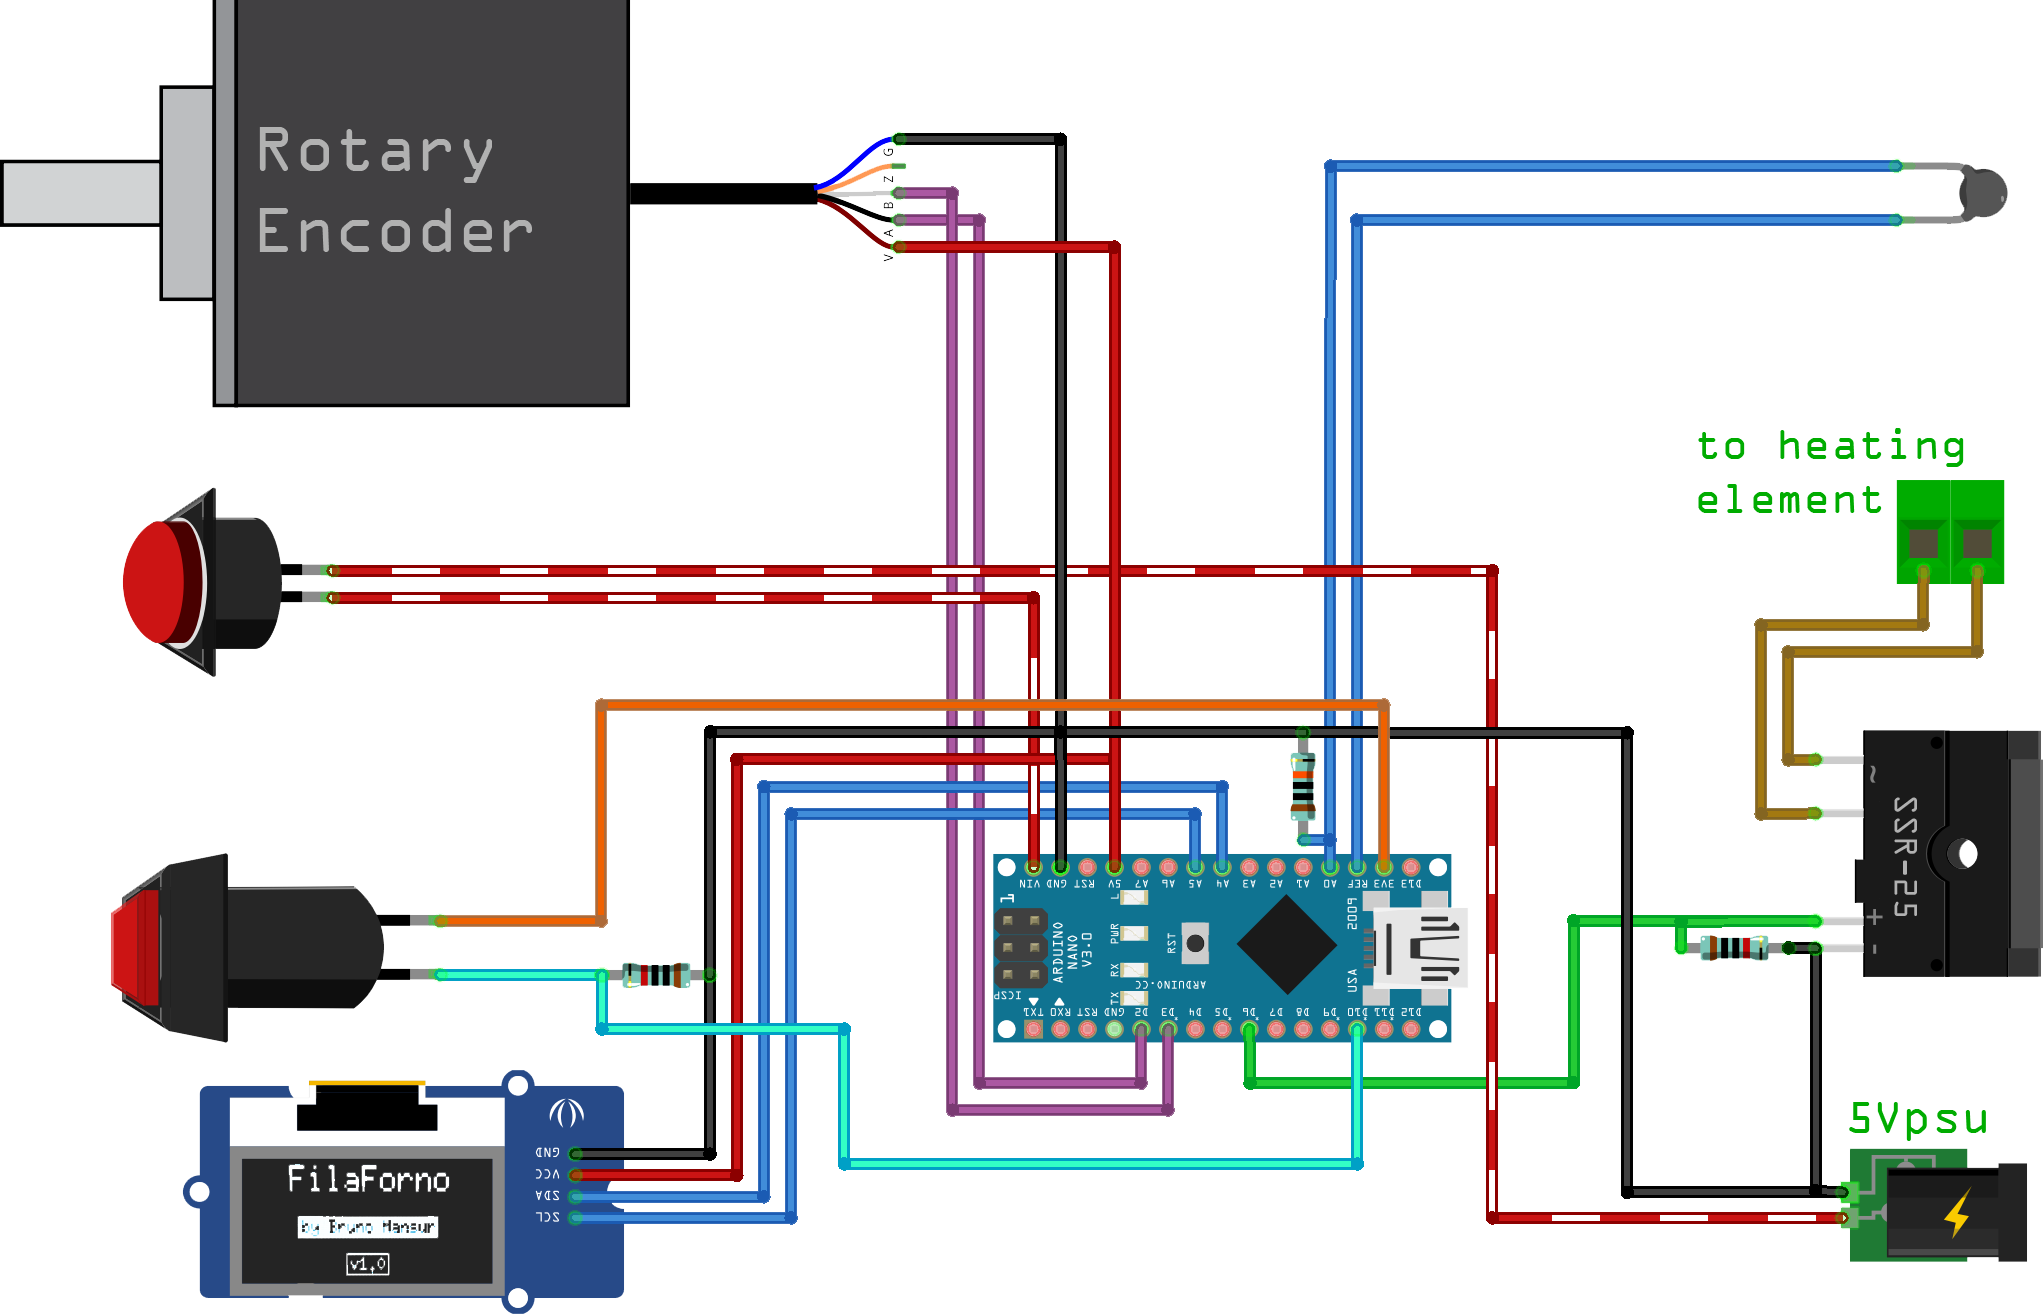
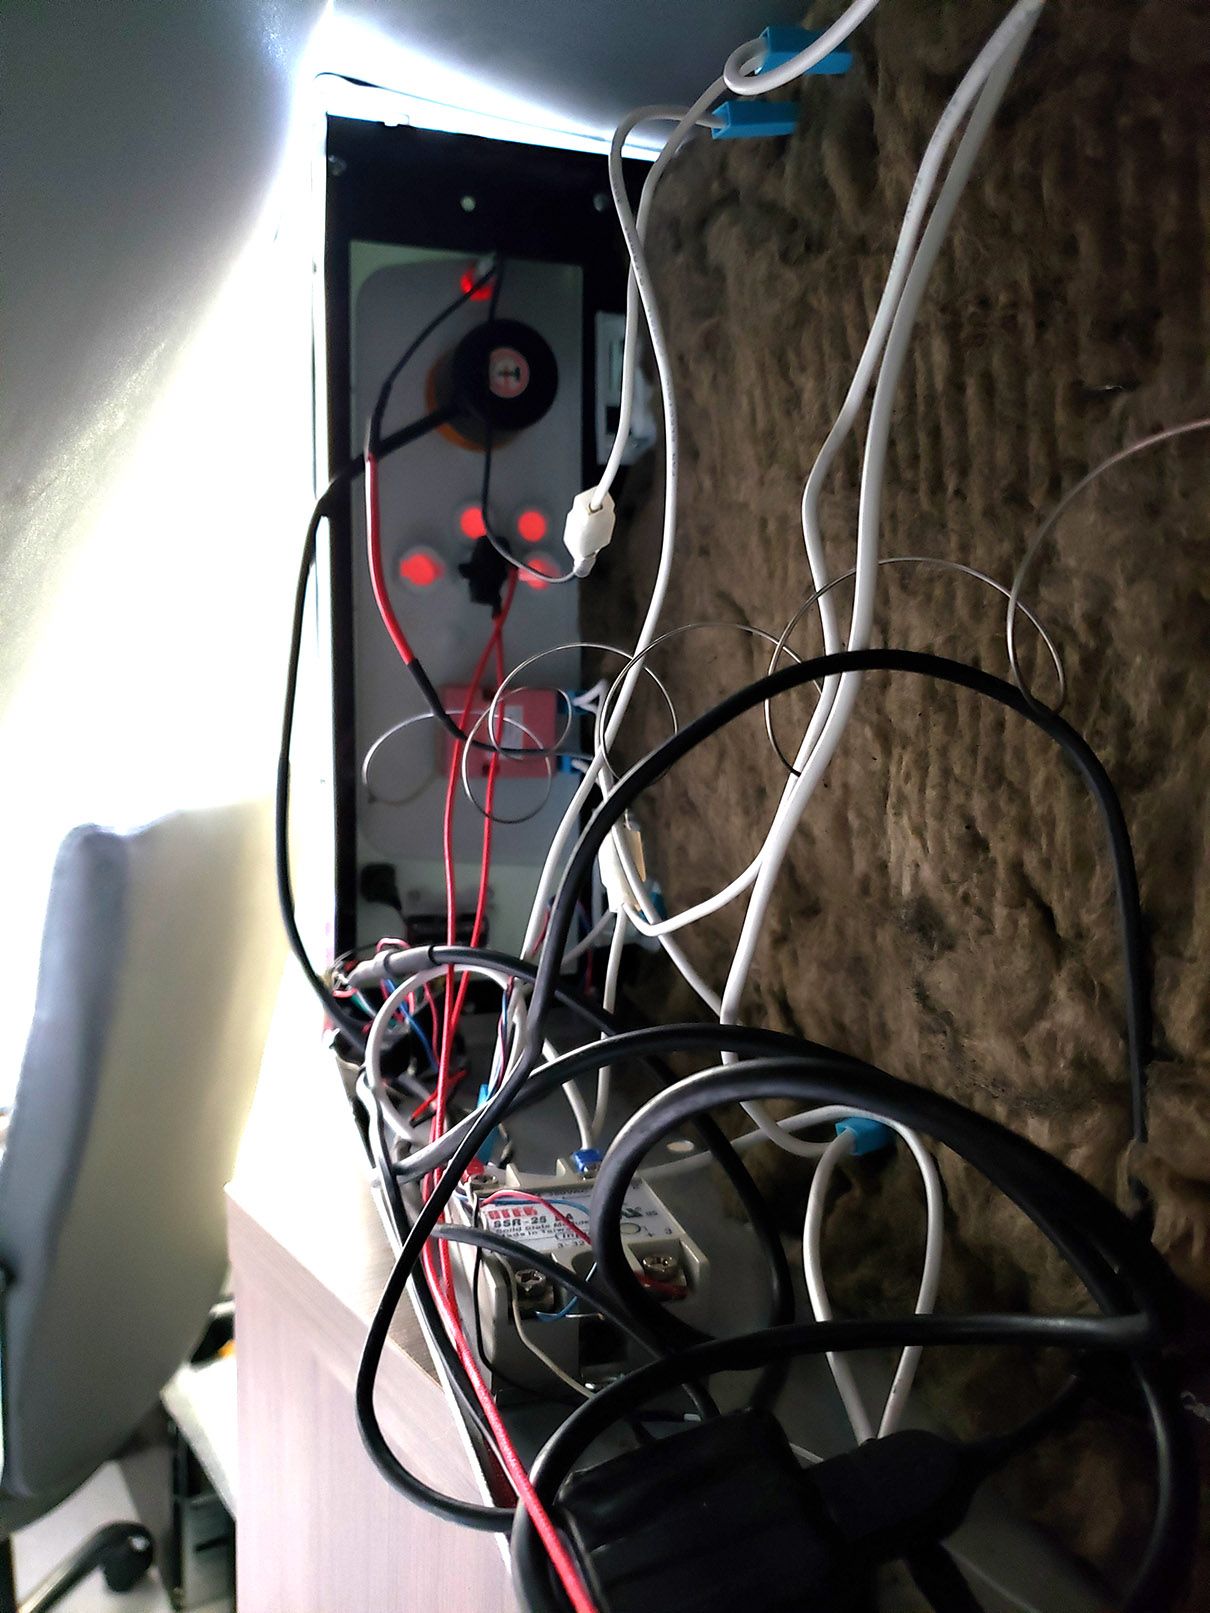
The plan was to make the process of drying filament spools straightforward, using only the components I had at hand, and create a friendly interface with some presets. I won't be entering in too much detail about the wiring since I doubt anyone will be finding this exact oven anyways, but the circuitry is quite simple with an Arduino controlling the operation.


I removed the faulty timer and replaced it with a nice rotary digital encoder and a 3D-printed adapter. Yes, it's overkill, but I didn't have any potentiometer at hand and didn't feel like buying one just for this.
The cables that were initially going to the timer were moved to a solid-state relay mounted to the bottom plate, which conveniently doubled as a heatsink.
I also wired an NTC thermistor to the heating chamber, leaving about 20cm of wires to allow the thermistor to be positioned closer to the spools.
To keep things safe, I left the original thermistor and temperature controls untouched. If my modifications failed, the oven would default to the dial's lower temperature setting, avoiding a fireball situation.
For the interface, I added a slick I2C OLED screen and button, wired it all together with an Arduino Nano and wrote the code. I used this list as a reference for filament drying presets. By the way, I repurposed the grill function's button as a power toggle for the electronics.


The upgraded oven works surprisingly well, allowing over 24h of continuous operation, and any temperature above ambient, it saved even my dampest filament from the landfill, and the process is now as simple as pressing a button!
You can check out the source code here: https://github.com/b-tuma/Filaforno